Since I managed to screw up my first couple of tries at doing a Plasti Dip coat on my stock wheels, I figured that maybe I could save someone else the trouble.
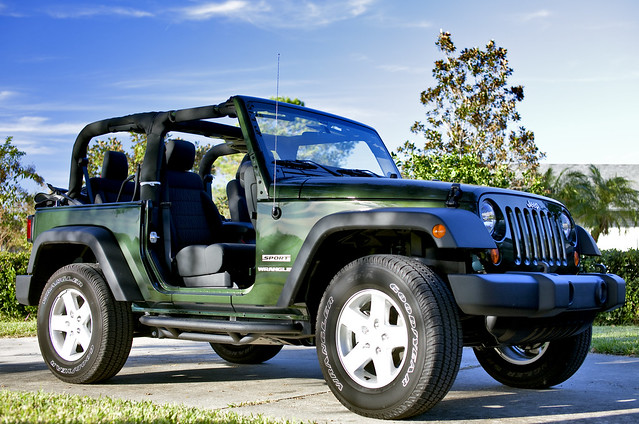
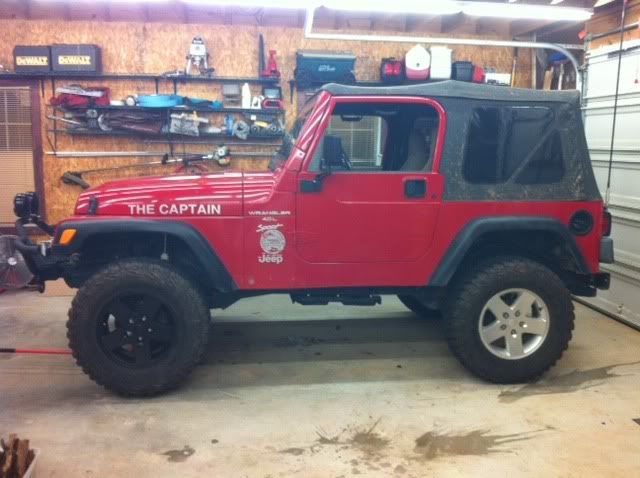
Before:
![Image]()
Materials:
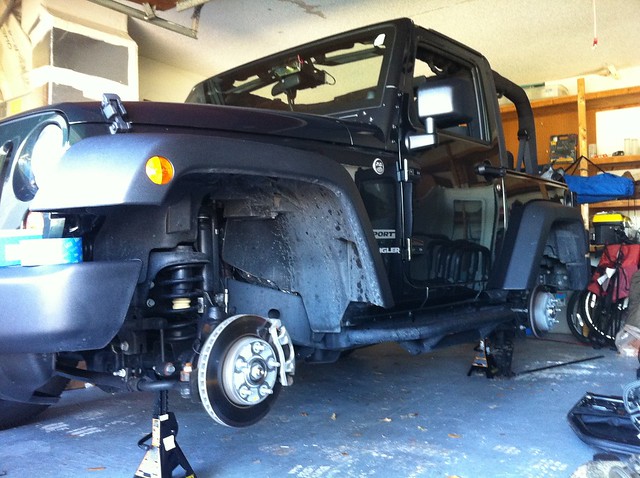
1) Remove the wheels. I did two at a time so that I could be cleaning and masking one in between applying coats on the second one. Just to save some time.
![Image]()
2) Clean the wheel the best you can. I used a pressure washer to get as much of the dirt and brake dust off as possible, then a scrubber and some S100 to scrub the rest off (and clean up the tire sidewalls a bit too). And I know, S100 is supposed to be a motorcycle thing, but I had it laying around and couldn't find anything else. Did the trick though.
3) Let the wheel dry, and then put some alcohol on a cloth and give the wheel a once-over with that. Remove the center cap (unless you want that painted too).
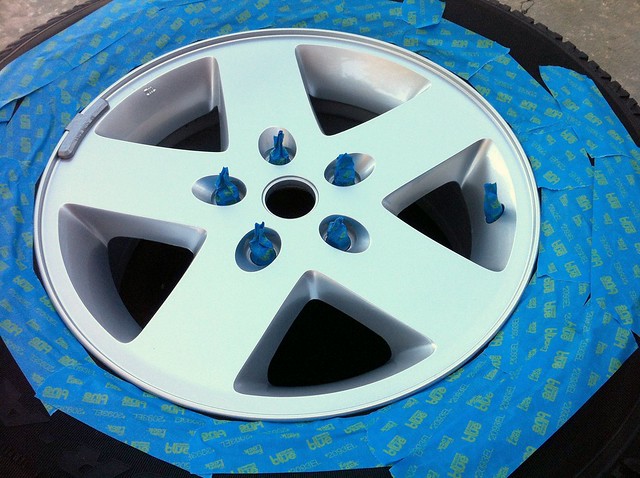
4) For masking, I used standard blue painter's tape. Some people use index cards and I tried that, but I wasn't very good at it and the index cards kept moving in the breeze. Mask the main areas around the tire including the white lettering. Overspray that makes it past the tape can be brushed off afterwards, if you can even see it.
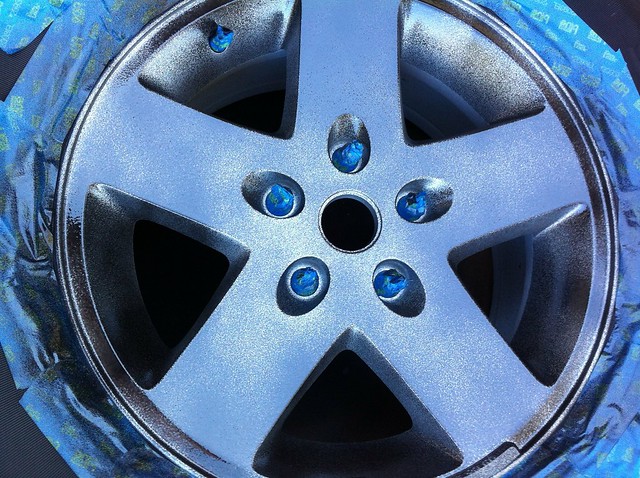
5) The holes for the lugs need to be covered. I made the mistake of spraying the entire inside of those holes when I did my first three wheels. Upon mounting the spare back on the Jeep, the lug nut twisted the coating and caused the entire coat to start peeling off the wheel as I torqued it down. I had to redo it. Then with the other two wheels, I had to take a knife and surgically remove the inner portion of all 5 holes, which is a real pain. So for the remaining wheels, I used the blue painter's tape to cover the "visible" portion of each of the 5 lug nuts.
![Image]()
Place the lug nuts in the wheel to clock the contact portions. Fully masked:
![Image]()
6) Now we start painting. Very important -- do not attempt to fully black out the wheels on the first pass. If you do, there's a good chance that it will start to bubble or pool up, and it will be difficult to fix later. Stay about 12" above the wheel and spray evenly all around, don't worry if there is still silver showing through in some spots.
![Image]()
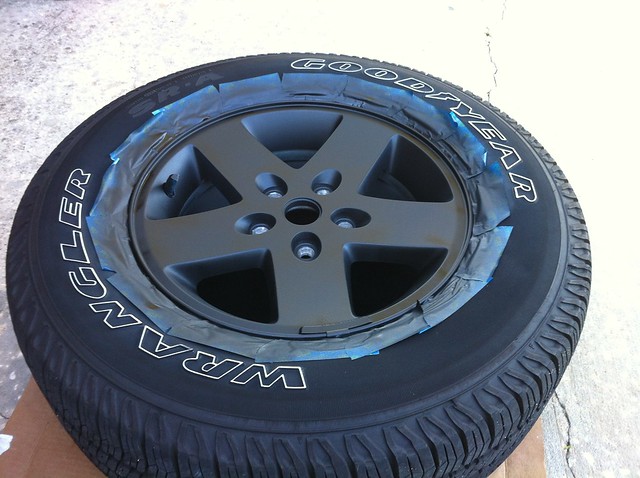
Let it dry until all of the black has lost it's wetness/glossiness. Depending on conditions, it's usually 5-15 minutes. Then repeat the process. Continue repeating until you have at least 4 coats and the entire wheel is black. Make sure to check around the lug nuts, around the valve stem, and around the edges.
7) After the final coat has been sitting for a few minutes, carefully pull our the lug nuts without touching the rest of the wheel. You can then start carefully removing the masking from the wheel.
![Image]()
8) Flip it over and spray the inside as well. I sprayed everything except the center portion that would contact the hub.
9) After a minimum four hour dry time, pop the center cap back in (if applicable) and mount the wheel back on the Jeep and start on the next one. Personally, I made sure to be careful with the surface for a full 24 hours, just to be safe. But I mounted them after 3 or 4 hours, just handing by the tire and not the wheel.")
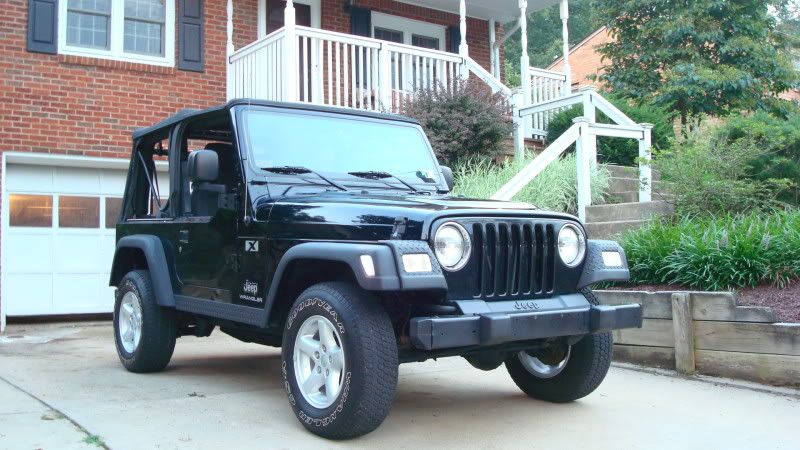
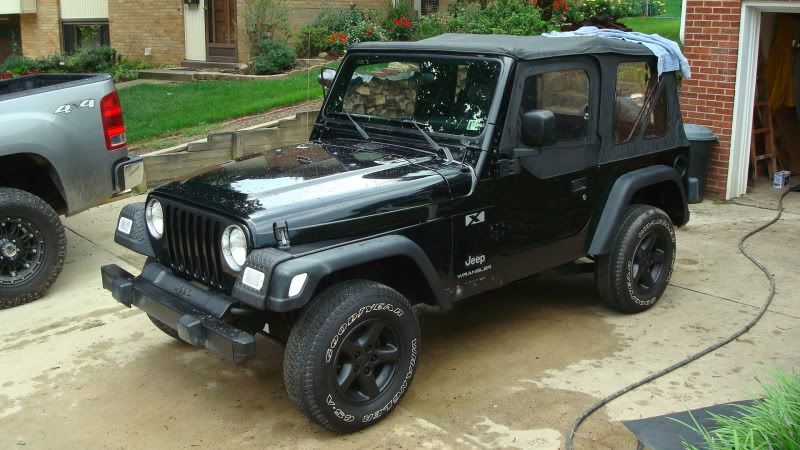
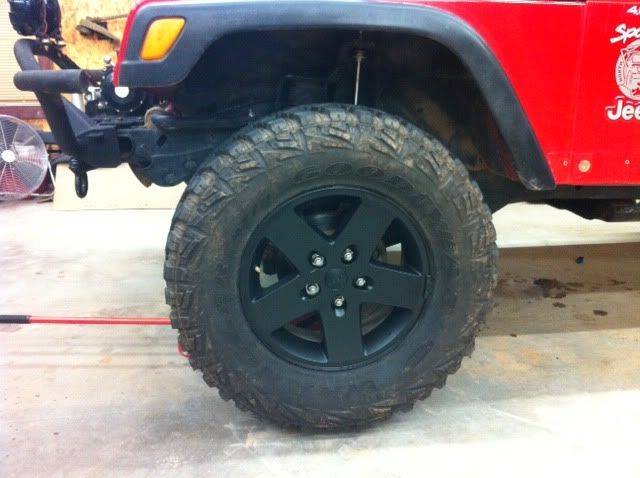
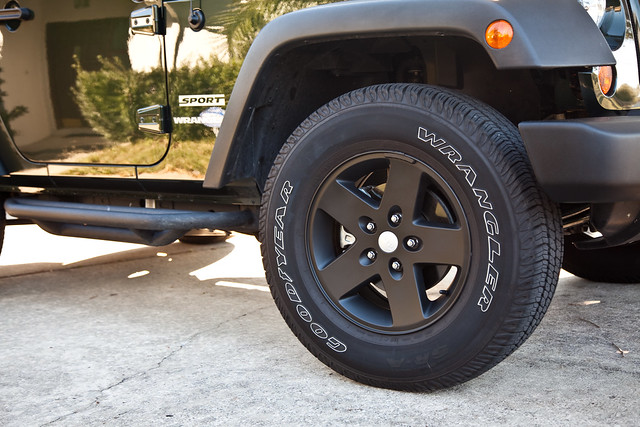
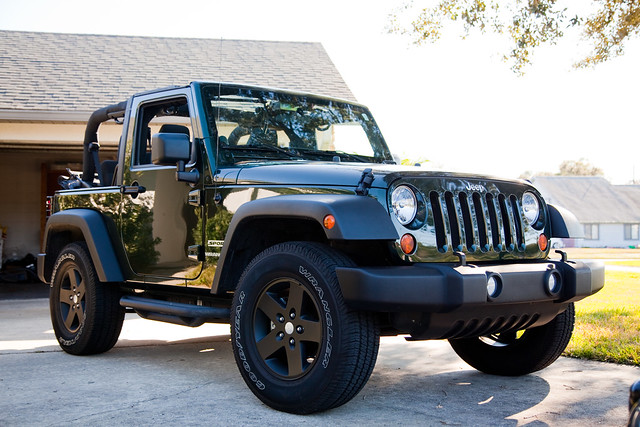
Final result:
![Image]()
![Image]()
View a larger version of this photo
Best part -- if anything gets screwed up, just wait for it to fully dry and peel it off and start over!
Before:

Materials:
- 5 cans of spray-on Plasti Dip
- Bottle of rubbing alcohol
- Wheel cleaner
- Scrubbing brush
- Soft Cloth
- Something large and disposable as a backdrop (I used a large piece of cardboard)
- Roll of blue painter's tape
1) Remove the wheels. I did two at a time so that I could be cleaning and masking one in between applying coats on the second one. Just to save some time.
2) Clean the wheel the best you can. I used a pressure washer to get as much of the dirt and brake dust off as possible, then a scrubber and some S100 to scrub the rest off (and clean up the tire sidewalls a bit too). And I know, S100 is supposed to be a motorcycle thing, but I had it laying around and couldn't find anything else. Did the trick though.
3) Let the wheel dry, and then put some alcohol on a cloth and give the wheel a once-over with that. Remove the center cap (unless you want that painted too).
4) For masking, I used standard blue painter's tape. Some people use index cards and I tried that, but I wasn't very good at it and the index cards kept moving in the breeze. Mask the main areas around the tire including the white lettering. Overspray that makes it past the tape can be brushed off afterwards, if you can even see it.
5) The holes for the lugs need to be covered. I made the mistake of spraying the entire inside of those holes when I did my first three wheels. Upon mounting the spare back on the Jeep, the lug nut twisted the coating and caused the entire coat to start peeling off the wheel as I torqued it down. I had to redo it. Then with the other two wheels, I had to take a knife and surgically remove the inner portion of all 5 holes, which is a real pain. So for the remaining wheels, I used the blue painter's tape to cover the "visible" portion of each of the 5 lug nuts.

Place the lug nuts in the wheel to clock the contact portions. Fully masked:
6) Now we start painting. Very important -- do not attempt to fully black out the wheels on the first pass. If you do, there's a good chance that it will start to bubble or pool up, and it will be difficult to fix later. Stay about 12" above the wheel and spray evenly all around, don't worry if there is still silver showing through in some spots.
Let it dry until all of the black has lost it's wetness/glossiness. Depending on conditions, it's usually 5-15 minutes. Then repeat the process. Continue repeating until you have at least 4 coats and the entire wheel is black. Make sure to check around the lug nuts, around the valve stem, and around the edges.
7) After the final coat has been sitting for a few minutes, carefully pull our the lug nuts without touching the rest of the wheel. You can then start carefully removing the masking from the wheel.
8) Flip it over and spray the inside as well. I sprayed everything except the center portion that would contact the hub.
9) After a minimum four hour dry time, pop the center cap back in (if applicable) and mount the wheel back on the Jeep and start on the next one. Personally, I made sure to be careful with the surface for a full 24 hours, just to be safe. But I mounted them after 3 or 4 hours, just handing by the tire and not the wheel.
Final result:
View a larger version of this photo
Best part -- if anything gets screwed up, just wait for it to fully dry and peel it off and start over!