Jeep Wrangler Forum banner

Thermostat Housing Replacement

24K views 36 replies 10 participants last post by  demarpaint  
#1 ·
Based on the threads I've read, does this sum it up:

- remove tube to throttle body and remove grill
- remove tube to thermostat, catch coolant under Jeep
- swap thermostat housing
- connect hose to thermostat housing
- remove bleeder valve on new housing
- pour new coolant into the radiator and watch for bubbles to disappear in stream visible at bleeder valve
- replace and tighten bleeder valve
- top off coolant in overflow
- turn engine on with no A/C and wait for fan to kick on

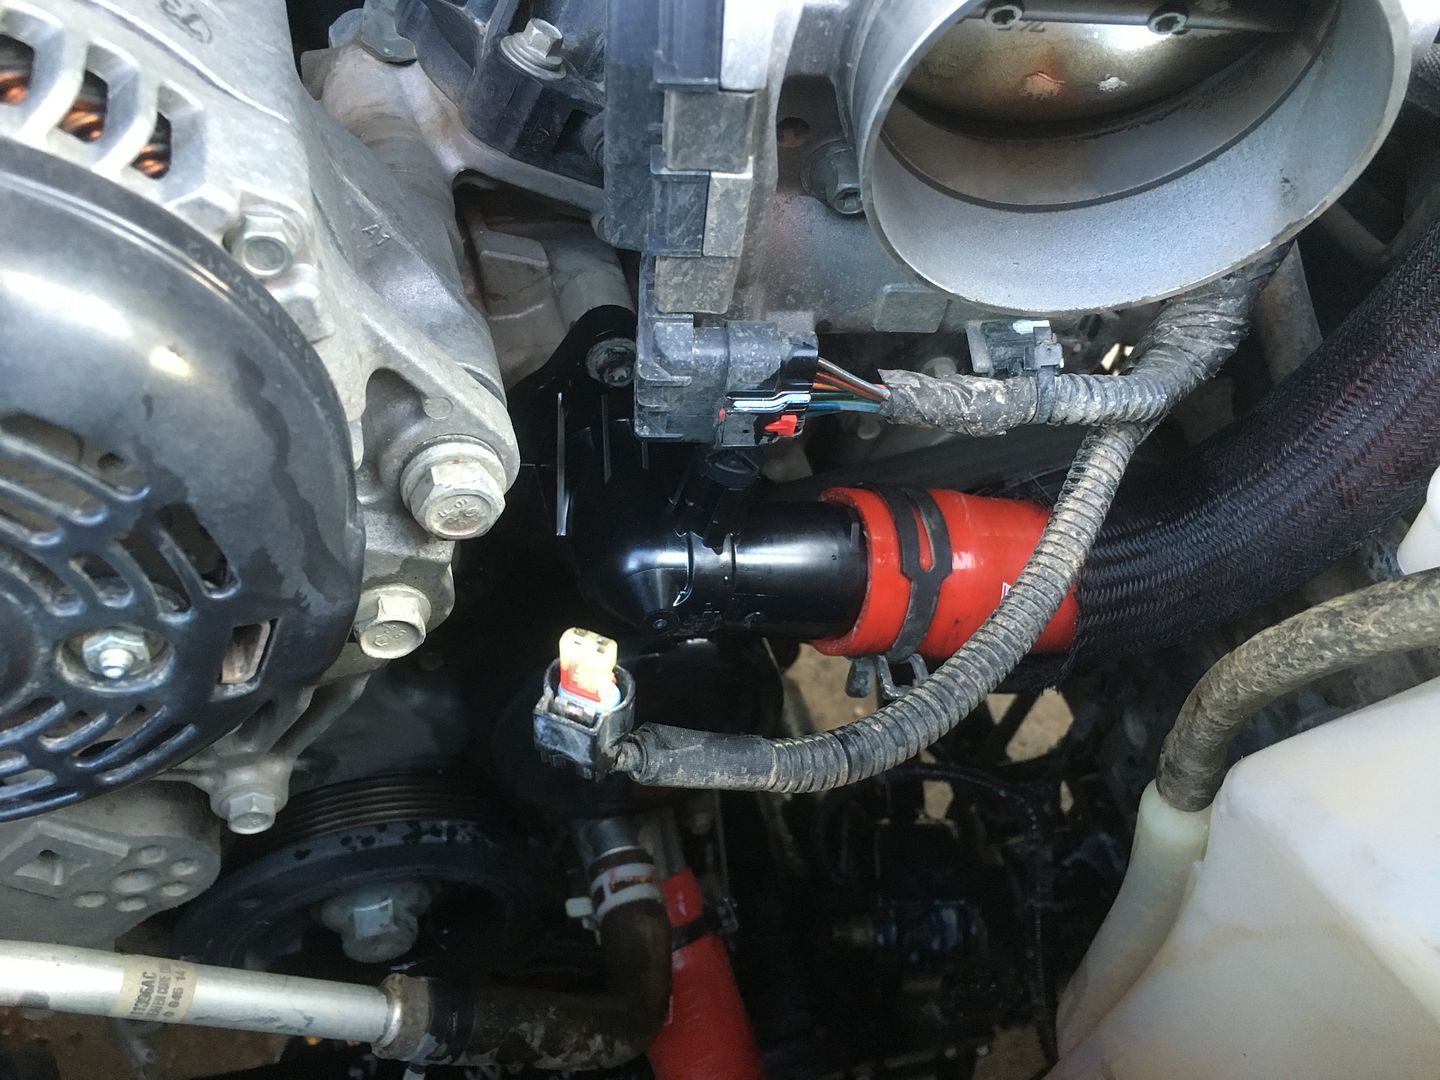
Any other tips or does this sum it up? It looks like a tight fit in there even when removing the tube to throttle body...any other thoughts?
 
#3 ·
It's the 3.6 Pentastar. So when the new housing is installed and plumbing hooked back up, then you'd remove the bleeder valve screw, remove the radiator cap, then run the engine with heat on high?

Do you add coolant to the radiator while this is running and look for bubbles to diminish in the bleeder hole?
 
#8 ·
Do you add coolant to the radiator while this is running and look for bubbles to diminish in the bleeder hole?
The way I use the bleeder hole is open it up for the initial cold fill with the engine off. Add the coolant, air will escape from the bleeder, when coolant starts flowing out, close it off. Then follow the instructions outlined in the video. You'll have less air trapped in the system that way.
 
#4 ·
Based on the threads I've read, does this sum it up:

- remove tube to throttle body and remove grill
- remove tube to thermostat, catch coolant under Jeep
- swap thermostat housing
- connect hose to thermostat housing
- remove bleeder valve on new housing
- pour new coolant into the radiator and watch for bubbles to disappear in stream visible at bleeder valve
- replace and tighten bleeder valve
- top off coolant in overflow
- turn engine on with no A/C and wait for fan to kick on


Any other tips or does this sum it up? It looks like a tight fit in there even when removing the tube to throttle body...any other thoughts?
I did mine a few months ago, easy job. It's not necessary to remove the grill, it's also a good time for a new therm & radiator cap. IMO bite the bullet a get a spill free funnel if you don't already have one.

I'm happy with this one I got from Amazon: LINK

Image


Video below is a good reference to properly bleed the system <very important! You can close the plunger with the temps get around 220ish and it starts to bubble up.

http://www.youtube.com/watch?v=gcCkGiaWN-I

Good luck! :thumb:
 
#5 ·
Awesome, thanks Blue, that video answered a couple lingering questions I had. I'll get those funnels...Did you remove the tube from the throttle body to get to the housing? Also, did you remove the bleeder screw completely when filling? Any other nuggets of knowledge??
 
#6 ·
I removed the intake tube and skipped the bleeder screw, since I was was bleeding the entire system. FWIW I had already replaced the radiator and hoses.


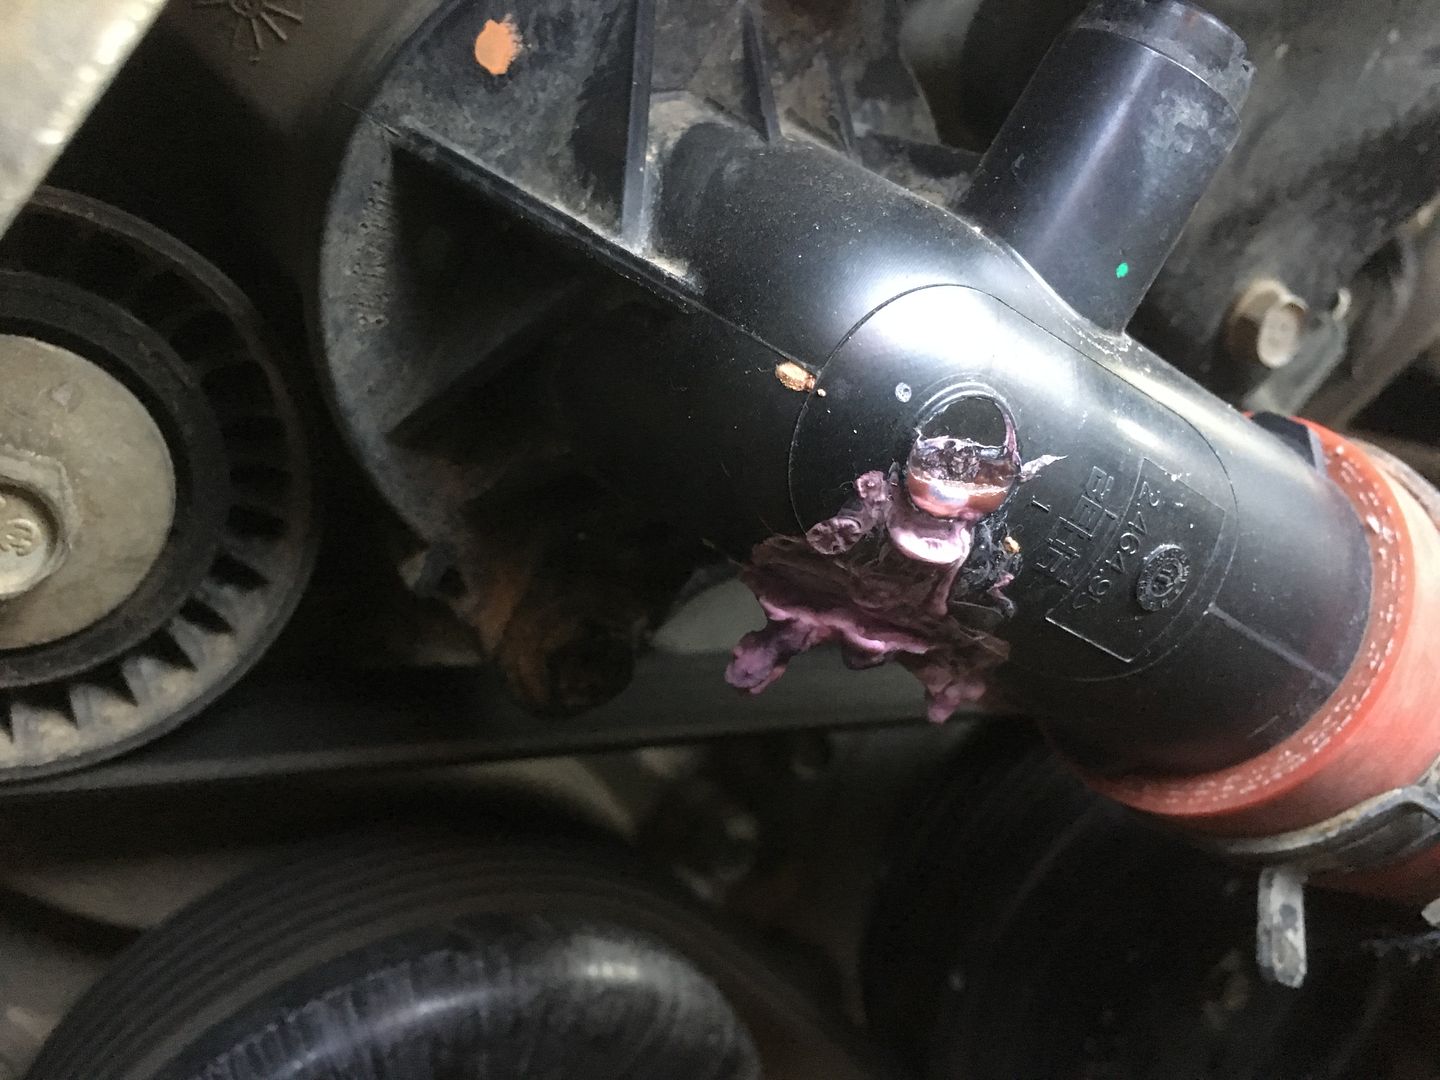
Here's why I replaced the housing:


And the failed radiator


No other nuggets. That video is what helped me understand bleeding the system, I'd never done it before. Like I said, hindsight it was a pretty easy job. Doubt you're close to Tulsa, but happy to help if you are.

Good luck!
 
#9 ·
Wel, I'm a fu**in idiot. First mistake: old seal stuck to the block, put new housing with new seal onto block over old seal (without realizing). Idiot move #2: I found some forum thread that said the torque is 103 in/lb but of course I only have a ft/lb wrench, same thread said 20 ft/lb...cranking down to 20 and the new housing cracks on top and bottom.

Invest in the in/lb torque wrench? Or just tighten until snug? I have another housing on the way...
 
#11 ·
Or convert in/lb to ft/lb, and use the one you have.

Mark

Sent from my SM-G935V using Tapatalk
 
#13 ·
That will work if the wrench goes low enough. I picked up an inch lb. torque wrench from Harbor Freight for cheap money, and it is actually quite accurate for things like thermostat housings and oil filter caps. I read the reviews, which were pretty good and took a shot. So far so good.
 
#12 ·
I typically go online and use a website that converts in/lb to ft/lb. 103 in/lb should be 8.5 ft/lb. Google does the conversion automatically too if it is typed in.
 
#14 ·
Good point^^^
 
#17 ·
I installed mine in about 30 minutes. I removed the air intake tube (between air box and throttle) using a 10 mm socket and screw driver. Next I removed the thermostat sensor from the air intake tube and removed the air intake. I put a jug (with top cut off) under the thermostat in the engine compartment and then removed the rubber hose using pliers. I then removed the 2 T30 torx bolts from the thermostat... don't forget to remove the o ring from the housing. Also, note that fluid will get everywhere, that's why I used a jug that with the top cut off. I put the new thermostat on and hand tightened snug and pulled just a little harder on ratchet (don't over tighten as this is plastic and you will break it). I reattached the rubber hose to the new thermostat housing. Next, I opened the bleeder screw and filled the radiator (remove cap) from the neck until the fluid came from the bleeder screw and then closed the screw. I filled the reservoir to the full line and ran the Jeep with heat on high until it got up to temp. I closed the radiator (put cap on). I added a little more fluid to reservoir and then I carefully removed the jug so that I didn't spill antifreeze all over the ground. I reinstalled the air intake tube and I was off and running.

Note: Make sure you use the correct coolant as some take OAT and others take HOAT. Mixing the 2 will cause the coolant to gel in your engine and then you have major problems. Check your owners manual or with the dealership if you aren't sure which you run.
 
#18 ·
Thanks everyone, I have an in/lb torque wrench on the way.

I'm tracking, Scooby. My 13 was built in April 2013 so it's OAT and not any of those lingering HOAT 13's built in late 12. I'm running Peak Long Life 50/50 OAT and has been smooth sailing. This really is a simple job, I just feel silly for buggering it up on my first go around.
 
#21 ·
Thanks all! I got the P0128 code and have to replace mine tomorrow! This helps immensely!

M
 
#23 ·
I replaced my Housing and Thermostat last Saturday and today (Wednesday) I am comfortable saying that doing so alleviated my P0128 code. It has not come on since my replacement.


.....but.....my water pump squeeeeek is back! FML
 
#25 ·
Super easy to do and I added new Mopar Coolant at same time for a refresh.
 
#30 ·
Just to confirm - you guys aren't draining the entire cooling system for a thermostat replacement job? I understand some coolant is lost and the system will need to be bled, but I'd like to avoid draining the whole system unless there is some other benefit at 65k miles.

I know that I have to do this on my daughter's Mazda, I'd like to avoid it on my JK (both are throwing roughly the same code, indicating the thermostat is sticking open).
 
#32 ·
Off a Cough:

I only trained all the fluid that was in the radiator through the petcock on the front passenger side. Once it was drained, there was very little (none) of the fluid that leaked out once I removed the upper radiator hose and housing. Once I replaced the housing/thermo, I refilled the radiator with HOAT (I have a '12) and started the Jeep with the radiator cap off. I let it run for about 10 minutes and added in little bits as I went. I also used the bleeder valve on the housing till it bubbled out. Then, I put my hand over the radiator where the cap goes until I could feel the pressure sucking into radiator and it began to fill up the overflow tank. Then, I knew it was full.

Also, make sure the petcock is CLOSED before you add the fluid...Must have lost about 1/4 of my new HOAT out of the darn thing cause it was still partially open....FML
 
#33 ·
Thanks. I've got this same replacement to do on my daughter's Mazda, I'm trying to figure out where I can share some costs and coolant doesn't appear to be one of them.
 
#35 ·
The thermostat is serviced as a unit along with the plastic housing.

This is also the case with the 2007 Mazda that I referred to above, so it's not that uncommon, I guess.