Jeep Wrangler Forum banner

Tom95YJ's "The Smurf" Build

86K views 521 replies 64 participants last post by  Tom95YJ 
#1 ·
Ok guys I am starting a build thread for my 89 islander edition Dubbed The Smurf the name stems from an obvious resemblance to a smurf ! This is my 6th Jeep and 2nd YJ , I have been around the block a few times so I am not new to this Obsession as my wife would say.

Heres the back story with a little of idea of how it will be morphing over the next little bit of time :


Last May, I had traded my Auto-X Project/DD Miata for a Pretty clean '89 Wrangler Islander . After looking for someone to trade for almost 2 years I found someone was willing to trade.

Specs on the YJ :

1989 Islander Edition (Pacfic Blue A.K.A. Smurf Blue )
4.2Lw/ Ba10 (works for now)
Hardtop with Full steel doors
208,000 miles
RUST FREE minus the P/S front fender

The Bad : Jeep would not idle on its own, and front axle would not engage in 4 wheel drive. Minor repairs that would scare away most who are not too knowledge able with Jeeps .

My Plan for this Jeep is to keep it simple, and a Budget friendly since it will be DD/ Medium Duty trail rig I had several thousand in my 95 YJ and I was given a Ramen Noodle/ Steel Reserve budget with this one since I am now a Home Owner, Have 2 Kids , and I make about 1/2 as much as I used to 7 years ago. My 95 was build on a Filet Mignon and Topshelf Bourbon Budget.


Mods I intend on doing will be :

4" Lift
TJ Flares
PSC Rear 1/4 gaurds & Sliders
4:10 gears (4banger Axles at first 8.8 rear later on)
F/R Lockers (Spartans)
SYE w/ XJ shaft
TJ Grizzly wheels
Bedlined Interior
Front and rear Bumpers (2x4 boxed steel front stubby with Swing out carrier rear)
8000# winch
Bestop Supertop w 2 piece soft doors

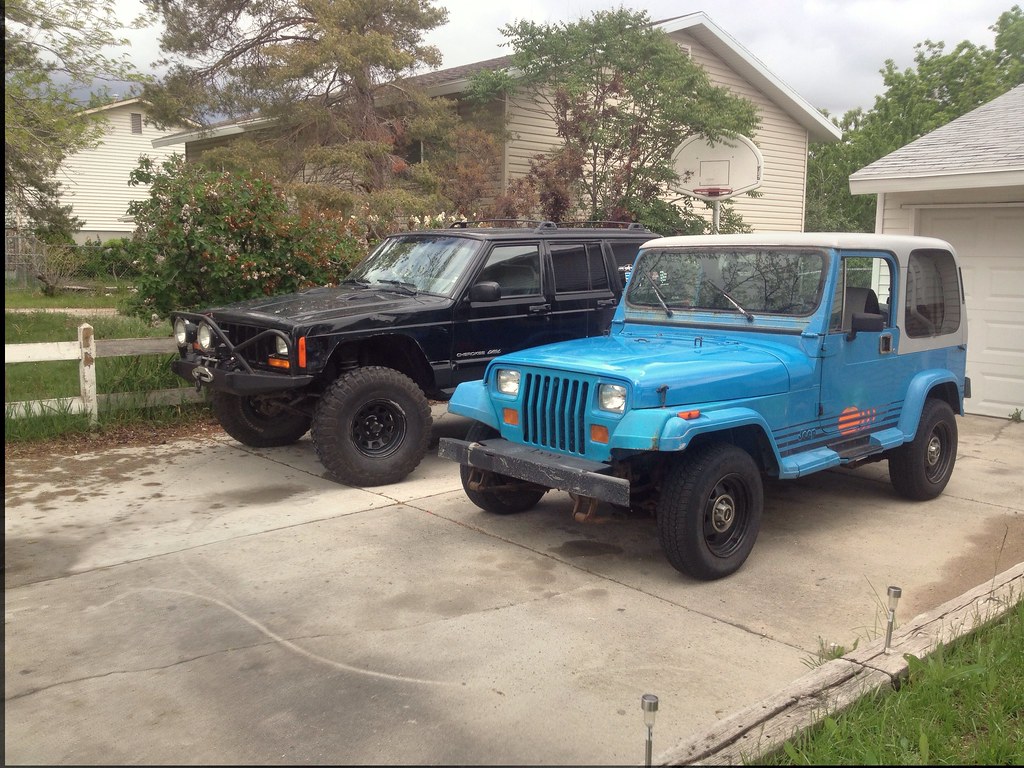
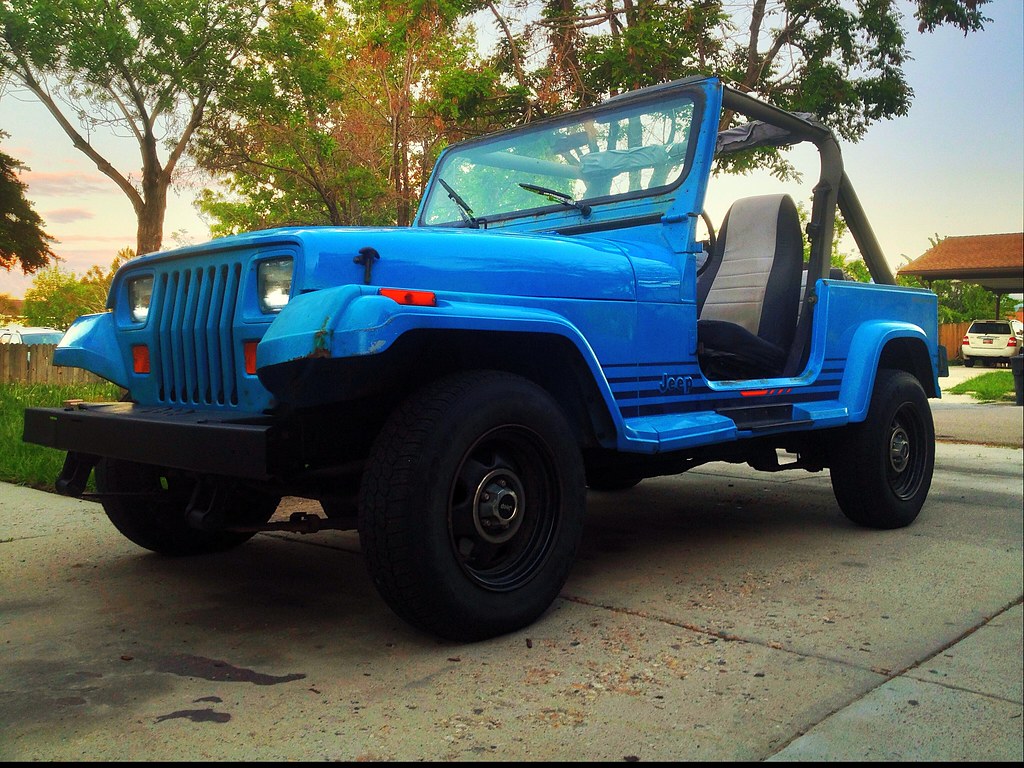
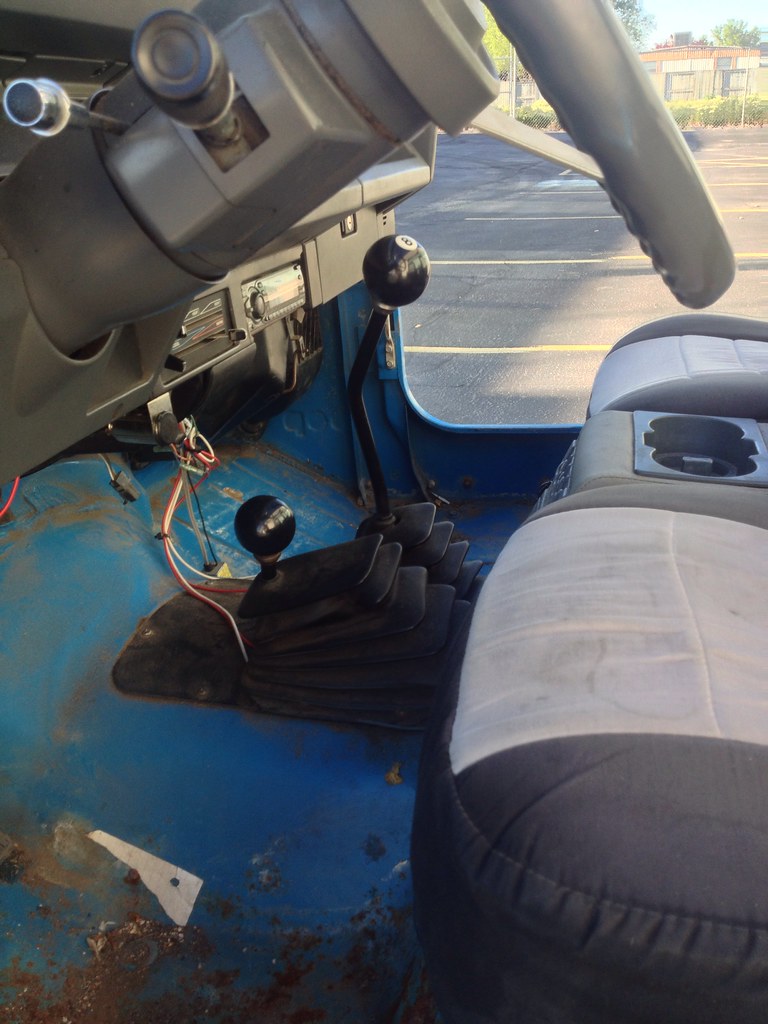
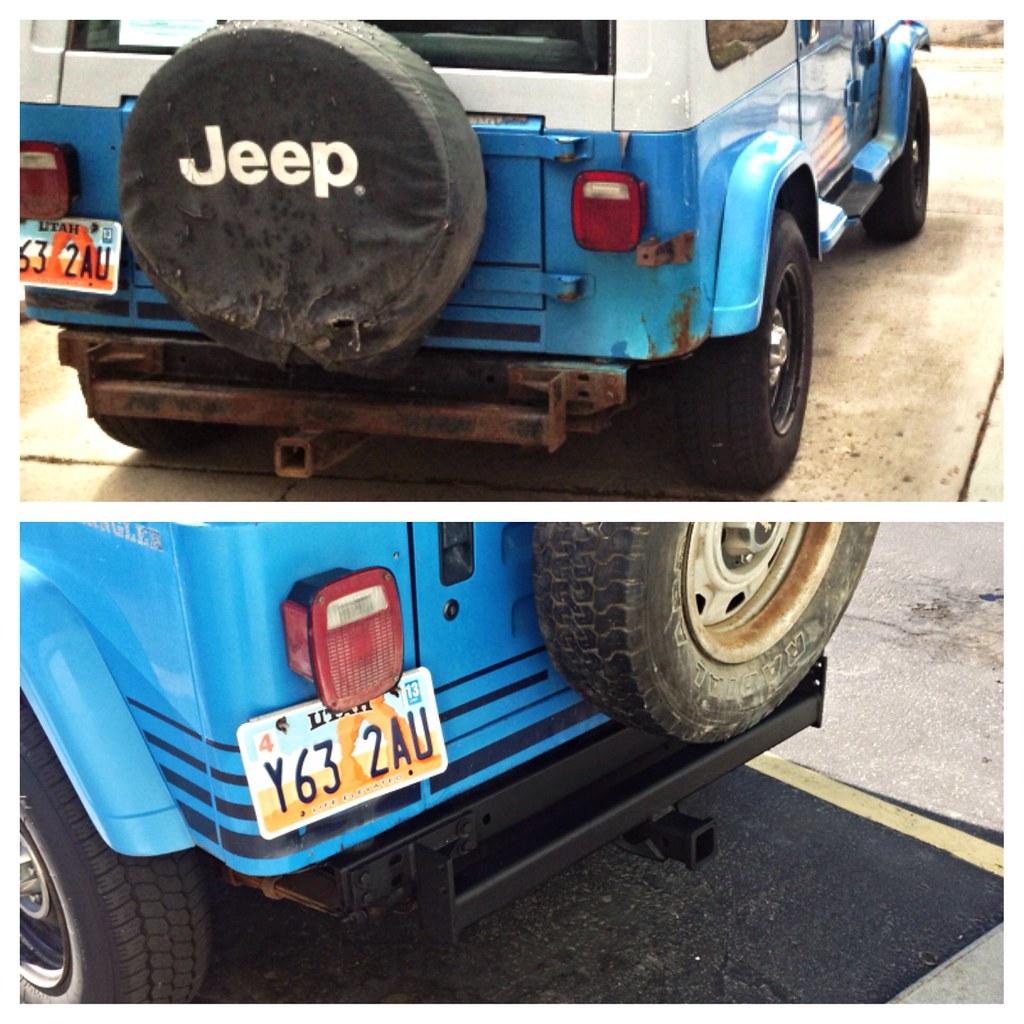
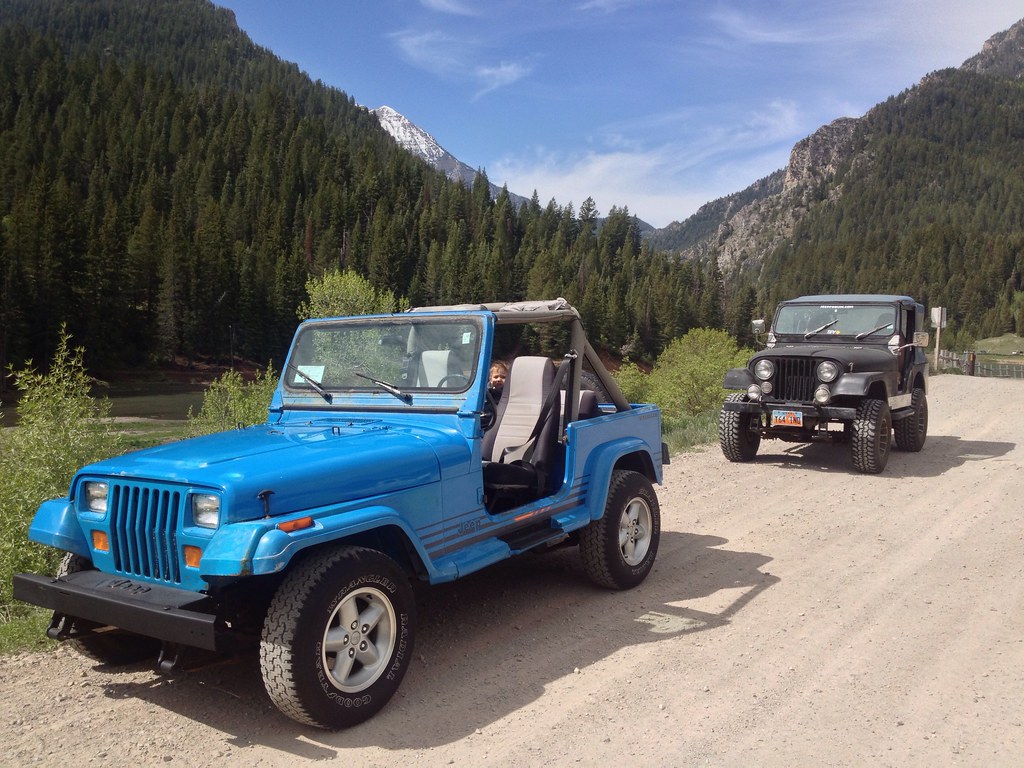
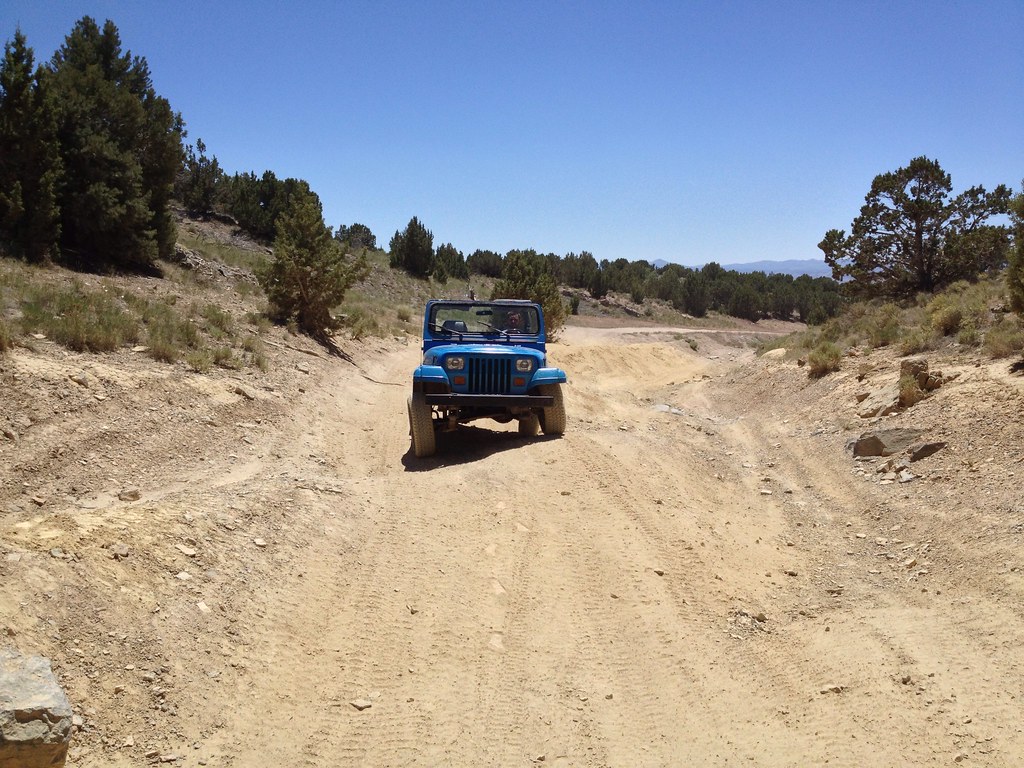
Here are some pics from the first day once I got home with it.


See less See more
3
#2 · (Edited)
A few days after I brought it home I had to take advantage of the Beautiful weather outside .

So the obvious thing to do was Detail the Jeep, Wash, Claybar, Buff the paint , Then to remove the Hardtop and Doors. Once that was done it was time to work on the interior a little. I had replaced the stock shift knobs with the ones I had in my last YJ, Rewired the head unit so it worked, I had also installed my son's car seat so he could enjoy the Jeep with me . After I was finished with that I went back to working on the exterior and Bedlined the T-case skid, Frame, Front bumper, Rear crossmember, and Hitch. Then on to the Underside I Relocated that useless government mandated BS like Trackbars and Swaybars into the Trash can

After I was done doing my projects my buddy came over to check out "The Smurf" We started talking about the running issue so we popped the hood and started to tinker with the carb. We had found a broken Vacuum line under the carb. So we took some extra line off another hose and cut a small piece to install on the bad line. After that it wanted to idle but the Idle set screw was set to like 300 rpm so it died. Tyler had started it up and I had adjusted the screw a little and have it Idling at 750-800 rpm and it runs on its own now. But it has a slight stumble while Idling but when driving its smooth as silk so I am sure the timing is off. I'll address that over the weekend.


#31 ·
A few days after I brought it home I had to take advantage of the Beautiful weather outside .

So the obvious thing to do was Detail the Jeep, Wash, Claybar, Buff the paint , Then to remove the Hardtop and Doors. Once that was done it was time to work on the interior a little. I had replaced the stock shift knobs with the ones I had in my last YJ, Rewired the head unit so it worked, I had also installed my son's car seat so he could enjoy the Jeep with me . After I was finished with that I went back to working on the exterior and Bedlined the T-case skid, Frame, Front bumper, Rear crossmember, and Hitch. Then on to the Underside I Relocated that useless government mandated BS like Trackbars and Swaybars into the Trash can

After I was done doing my projects my buddy came over to check out "The Smurf" We started talking about the running issue so we popped the hood and started to tinker with the carb. We had found a broken Vacuum line under the carb. So we took some extra line off another hose and cut a small piece to install on the bad line. After that it wanted to idle but the Idle set screw was set to like 300 rpm so it died. Tyler had started it up and I had adjusted the screw a little and have it Idling at 750-800 rpm and it runs on its own now. But it has a slight stumble while Idling but when driving its smooth as silk so I am sure the timing is off. I'll address that over the weekend.


Can I pick your brain real quick? Can you elaborate on the removal and disposal of the trackbars and swaybar? I will be reinstalling my axles next week when my lift kit shows up and my frame is painted up. I assumed I would paint and reinstall the track and swaybars. In the very little research I did, I believe I found that the trackbars keep the axles centered, which I believe would take shear loading off of the leafs. The swaybar bolts to the frame, so I guess that is a vertical loading cushion? I figured out the use of the swaybar quick discos for articulation, and was figuring on going with those in the future, but do not need to order them now, they are not necessary to get my rig back on the road, (89 YJ). So what's the deal? Can I just leave these bars off for some kind of gain? What would I be gaining? What would I be losing? What would I be risking? Thanks a lot. Your post is the first I have heard of this, so excuse my ignorance. Thanks again!
 
#4 · (Edited)
A few weeks later ( Fathers Day Weekend) I took the YJ on its maiden voyage up Forrest lake trail in Unita National Forrest with my buddys CJ5 and our Sons for Daddy/Son Bonding day. In a few pic you'll see I had to tow my buddy a little when a battery cable popped off and his key snapped in his ignition until we decided to hot wire his CJ lol . I also had a stick puncture my sidewall, and had a Hub start clicking and wobbling around :(


#8 ·
The Following weekend I did a little more minor work to the YJ, I wet sanded the fenders and grille, Painted them again, Did more sanding and painting. Then I was looking at the front of the YJ releasing it needed something else done. So I bobbed the bumper 13-1/4 " Once the paint cures I will be wetsanding and buffing the grille and fenders to get rid of the orange peel
(I will be replacing the parking lights and radiator so don't worry about the overspray )


#9 ·
Later that week I I picked up a set of Rubicon Tj flares off a buddy. So this is a preview of things to come I am currently waiting to hear what's going on with a semi local YJ being parted out. I should know by Thursday if I will get a new rust free p/s fender. If I do I will be painting and installing it. Then installing the Tj flares and removing the steps on the Yj.

I am unsure if I will keep the flares black or if I will color match them. If I keep them black the hardtop will be getting painted semi gloss black

 
#10 ·
I ordered some new lights for the YJ

Some TJ Markers for the TJ flares and some 4" LED Taillights


This is the part # for the LED Tails AutoSmart KL-25108RK
I paid $23.00 for the pair Shipped off Amazon


Saturday I will be picking up a rust free Fender off a 95 YJ , I will also be picking up a few cans of paint so I can paint it before installing the fender and flares.

I will also be picking up some cans of Semi gloss black paint for the hardtop I hope to take it off and get it painted next week some time . I am unsure if I want to keep the TJ flares black or paint them blue to match the factory yj flare color. When I do the TJ flare install I will be removing the steps . I may goto a metal supplier and get some 6x6 by 3/16 angle and make some sliders
 
#13 ·
I just picked up my newish fender to replace this mess !

I'll prep and paint it tonight.


I painted the fender with the help of my son, Well he decided to take a wrench and try to remove the frame cover . Little man was grunting and surprisingly loosened 2 of the bolts while I was spraying the fender.


#16 ·
My L.E.D. interior bulbs came in today, So the obvious thing to do was to wait until it was dark to swap them out !


Before:


After:


Comparison shots:


I also replaced my sidemarker bulbs, Man they went from orange to yellow, the back side of the housing also lights up the wheel well !


The bulbs I used are 5 diode T10 wedge L.E.D.'s I picked up 20 off of Ebay for $10 shipped
 
#23 · (Edited)
Today I talked to the guy whom I bought my spare fender from to see if he had any Axles from a 2.5L Jeep and told him I was thinking about selling my Hardtop for a Soft top He offered a proposal of taking my hard top and giving me a set of axles for $100 so I may go that route considering I will be buying a super top Or I could trade him my top for a 4" lift he already has ........... decisions decisions
 
#26 ·
Great pics. Looks like everyone had a great time.

Friend of mine had the same Jeep back in the day. What did we call it you ask? Papa Smurf!
 
#27 ·
Great pics. Looks like everyone had a great time. Friend of mine had the same Jeep back in the day. What did we call it you ask? Papa Smurf!
The name is fitting for this color.

I'm just anxious to get my lift ordered ( 4.5" rc with their new military wrap springs ). And the super-top but Im not looking forward to its install since the po stripped a few torx bolts I'll need to remove to install some brackets which I'll replace with hex head bolts . Once the top comes in I'm going to trade the local guy my hardtop and a little cash for his 4:10 axles
 
#28 ·
I rounded a few out on my Jeep when I changed the windshield gasket. Easiest thing for me to do was use a die grinder, knock a little paint off the head of the bolt & tack weld a 1/2" bolt on it. Then just use a 1/2 socket & back it out. Replace with a hex bolt.

I'm slowly replacing all of my torx heads for good grade 5 hardware.

Getting the old suspension off might pose a bit of a problem for you as well, as the leaf spring bolts love to rust to the bushing sleeve. I had to cut all of my spring hanger bolts out. Total PITA, but worth it.
 
Top