2013 JKU
Automatic
January 2013 build date.
- - - - - - - - -
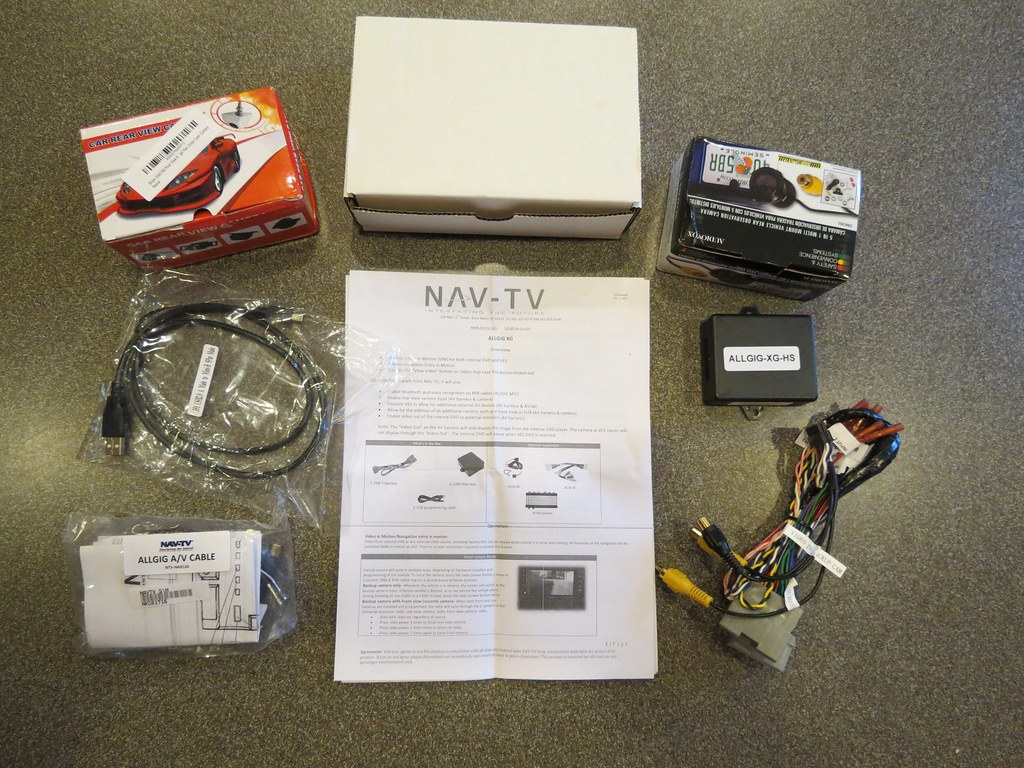
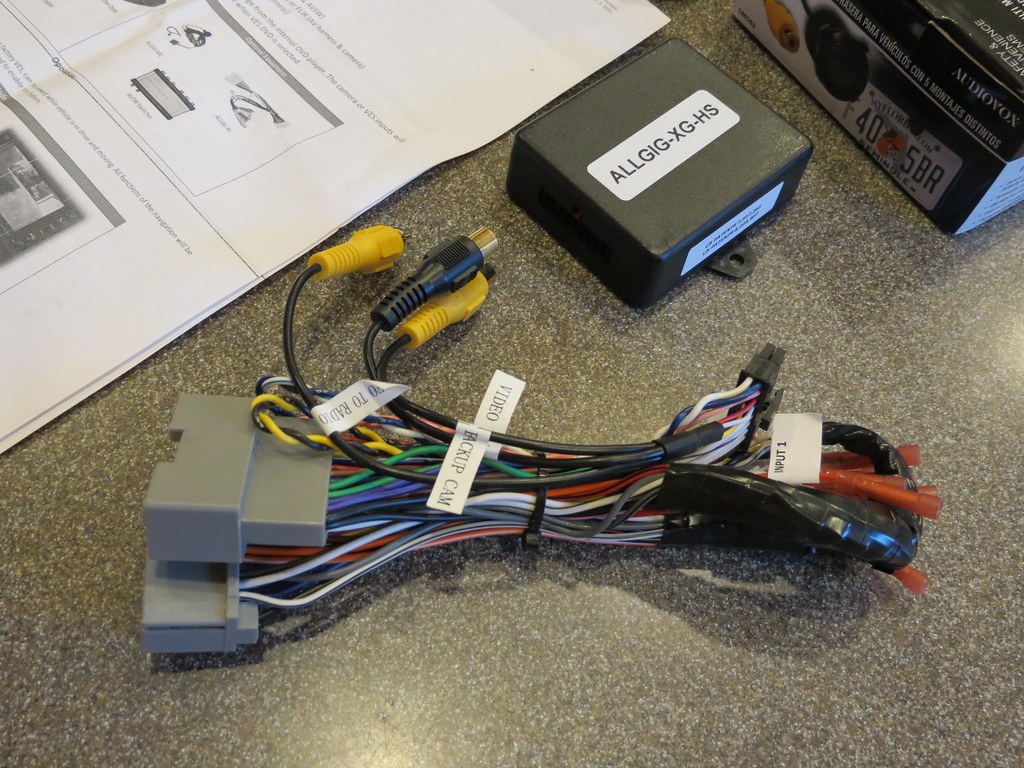
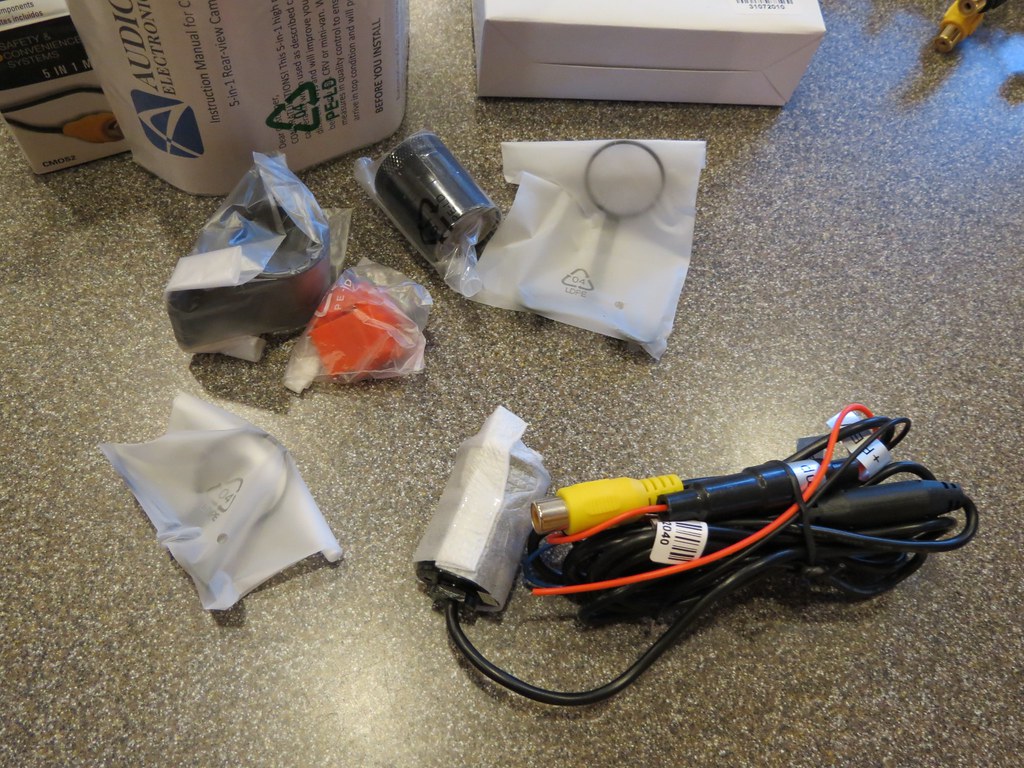
I installed NAV-TV module with the Audiovox CMOS-2 backup camera. A straightforward installation, I spent about 5 hrs taking my time with a few breaks, and a rework of the hole on the backside of the rear bumper cover. A good learning experience on how the Jeep is put together.
Tools:
7mm socket for dash
30mm torx socket
plastic trim removal tool (helpful)
16mm socket for rear bumper
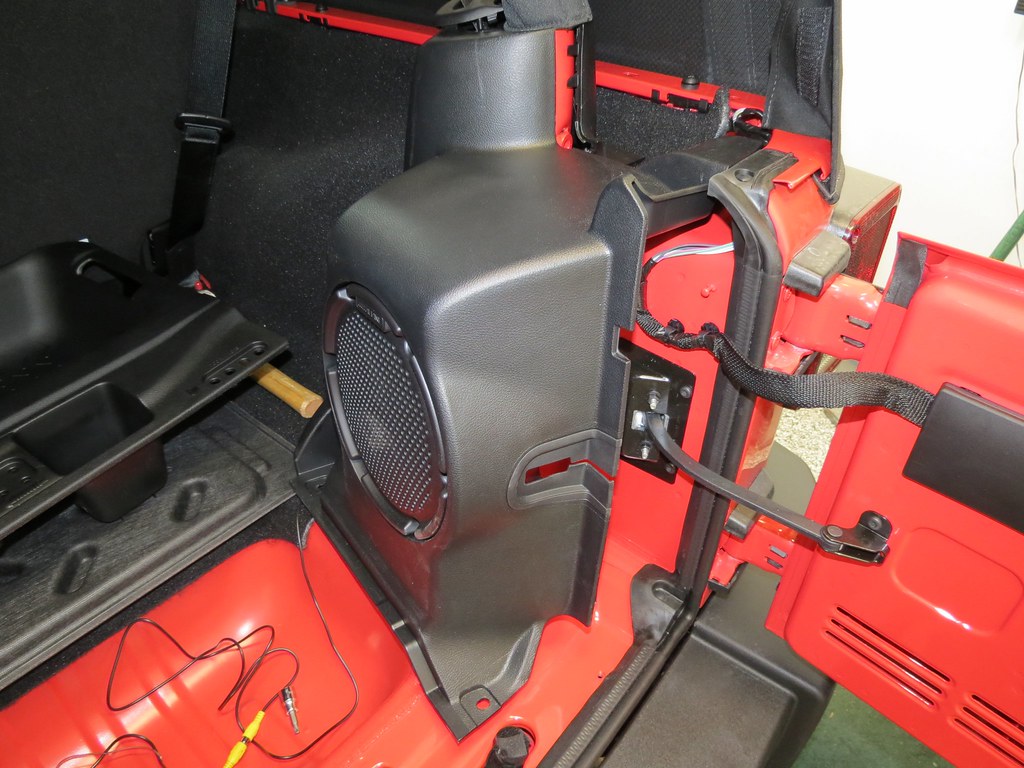
10mm socket for upper subwoofer nut
electrical tape
soldering gun & solder
wire stripper
5/16" hole saw or unibit
Notes:
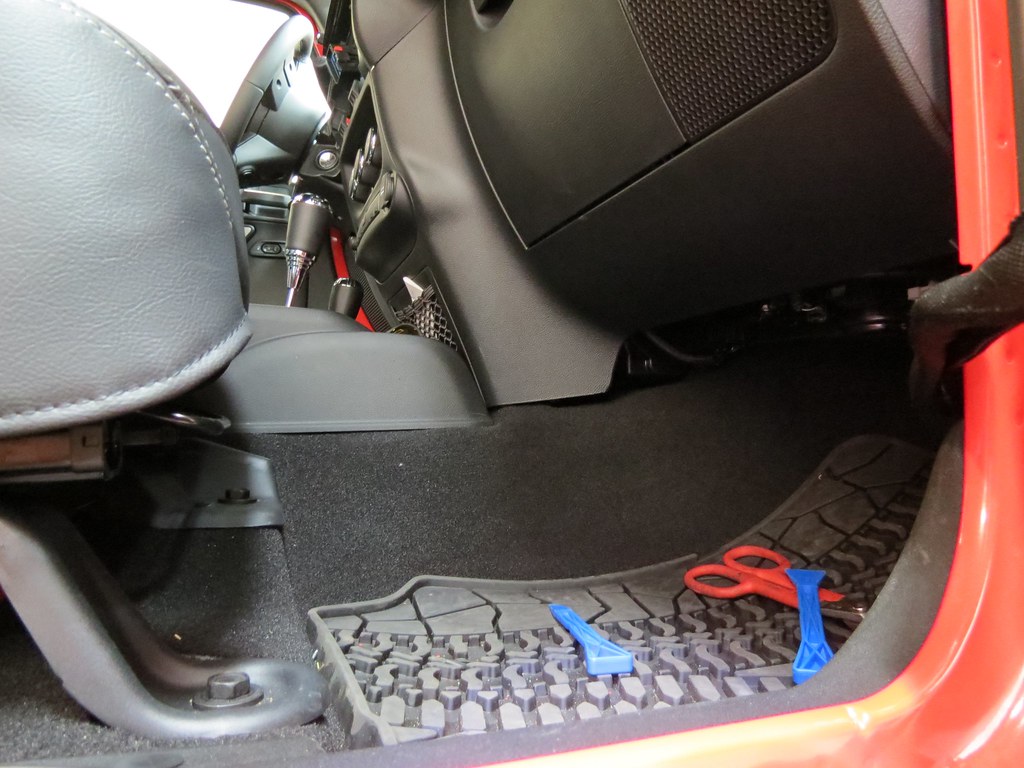
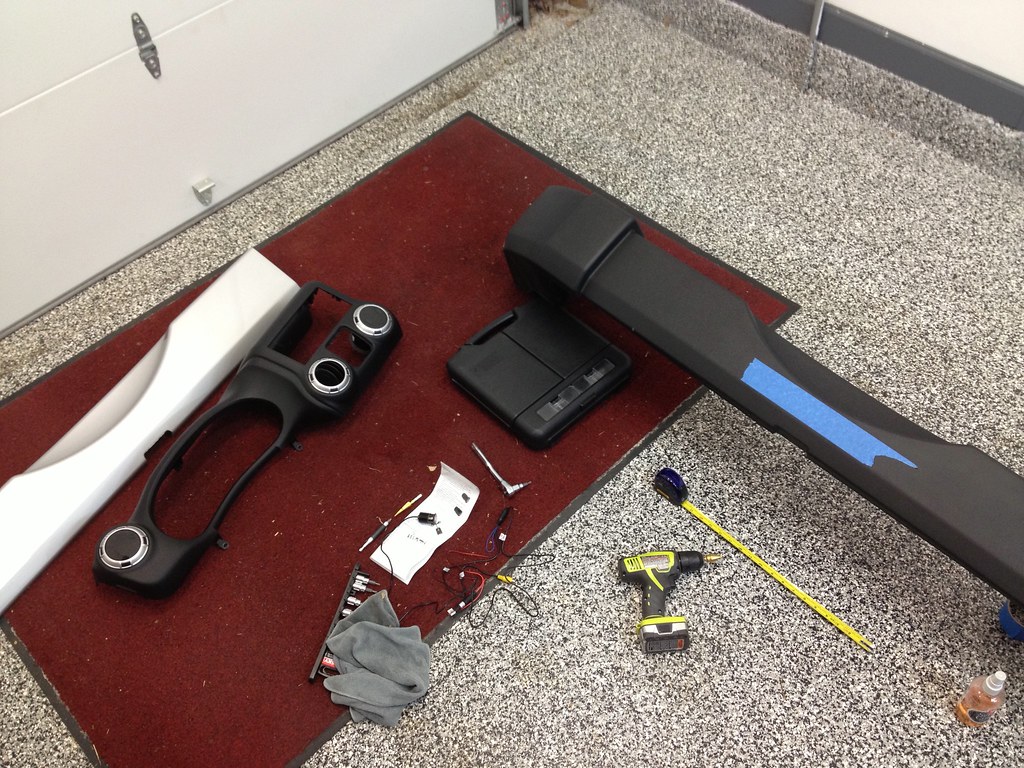
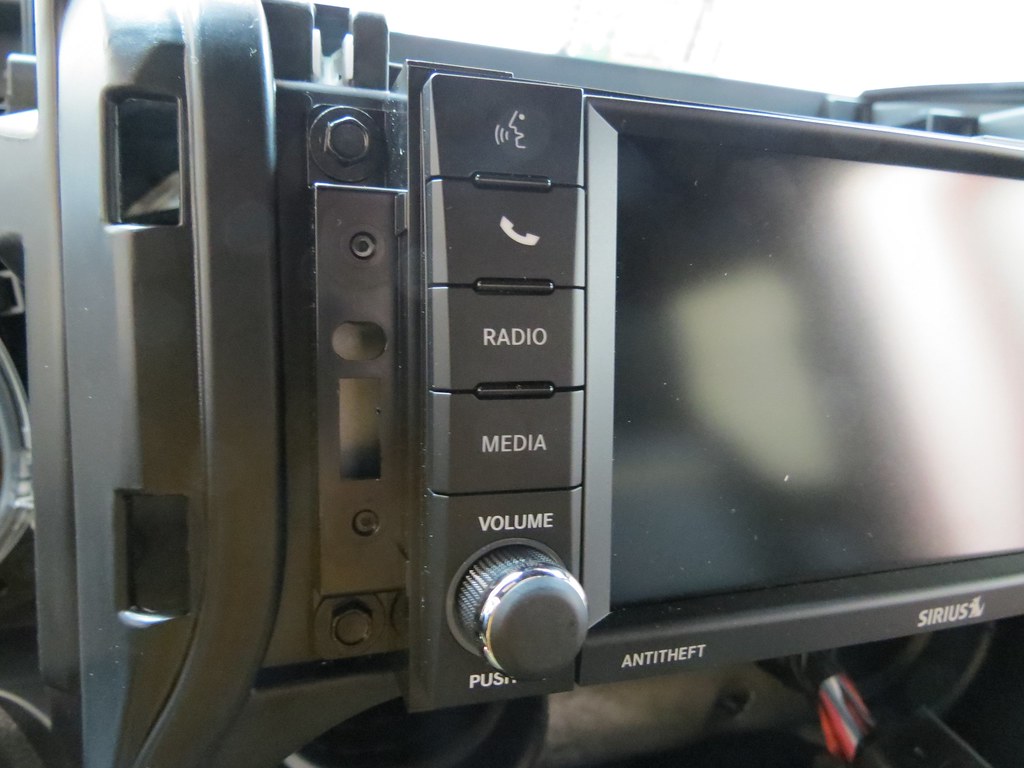
Here are some pictures of the install:
![Image]()
![Image]()
![Image]()
![Image]()
Remove 7mm bolts:
![Image]()
Use plastic trim removal tool to pop the window switches; slide the red tab on the wiring connector and pull the plug:
![Image]()
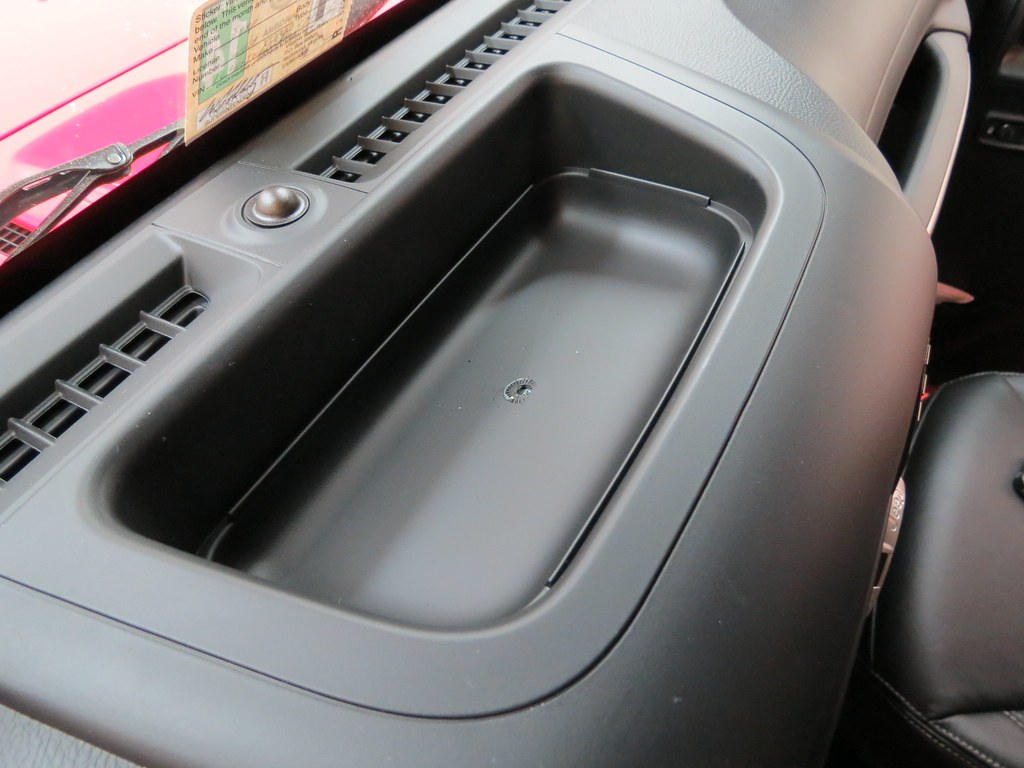
pull lower tray and remove 2 bolts:
![Image]()
![Image]()
![Image]()
pull the top dash panel, lower the steering column, tilt up and toward the passenger side to clear the steering wheel:
![Image]()
Remove the 4 bolts holding the headunit:
![Image]()
![Image]()
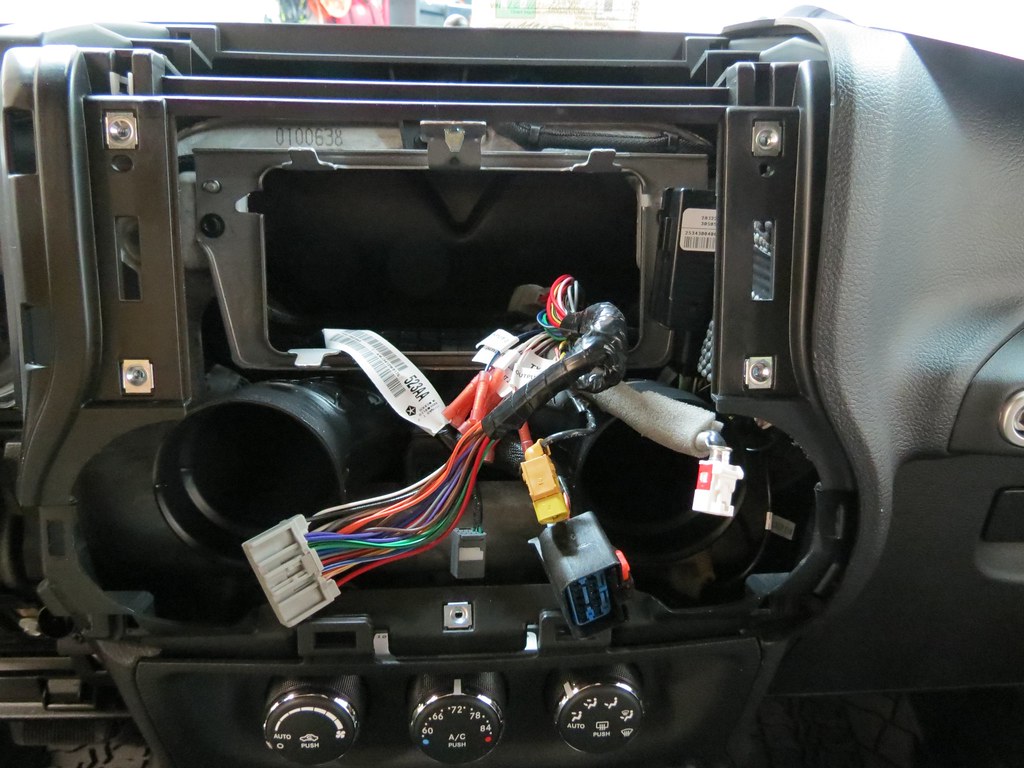
Squeeze and pull to release the harness and antenna connectors:
![Image]()
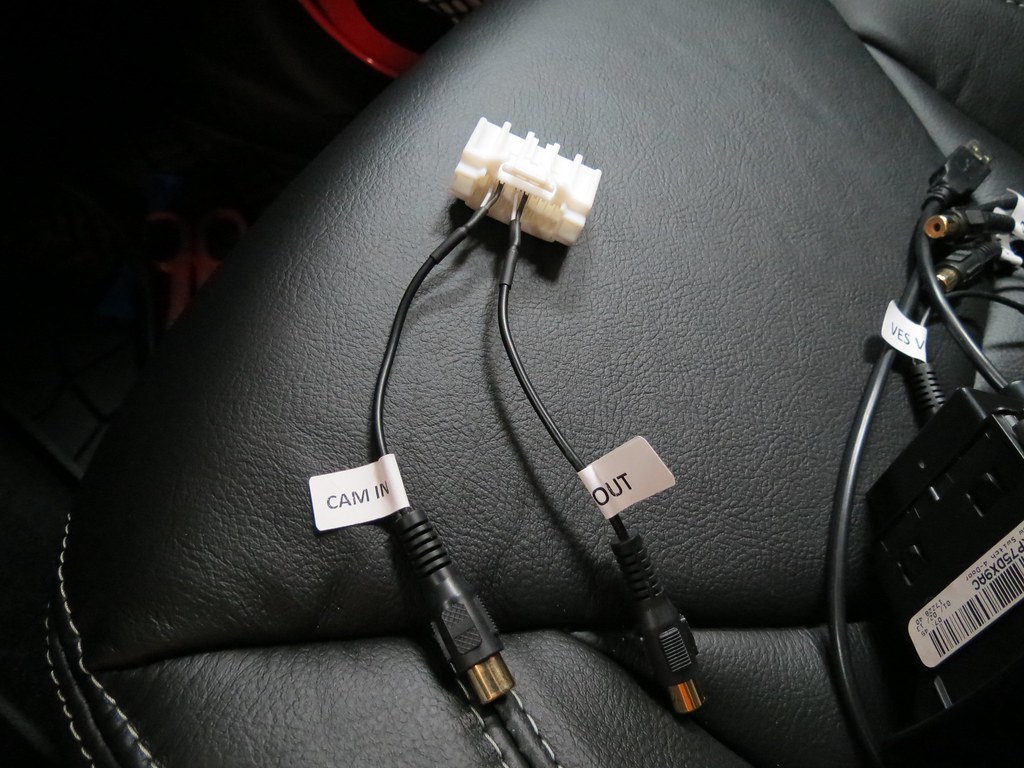
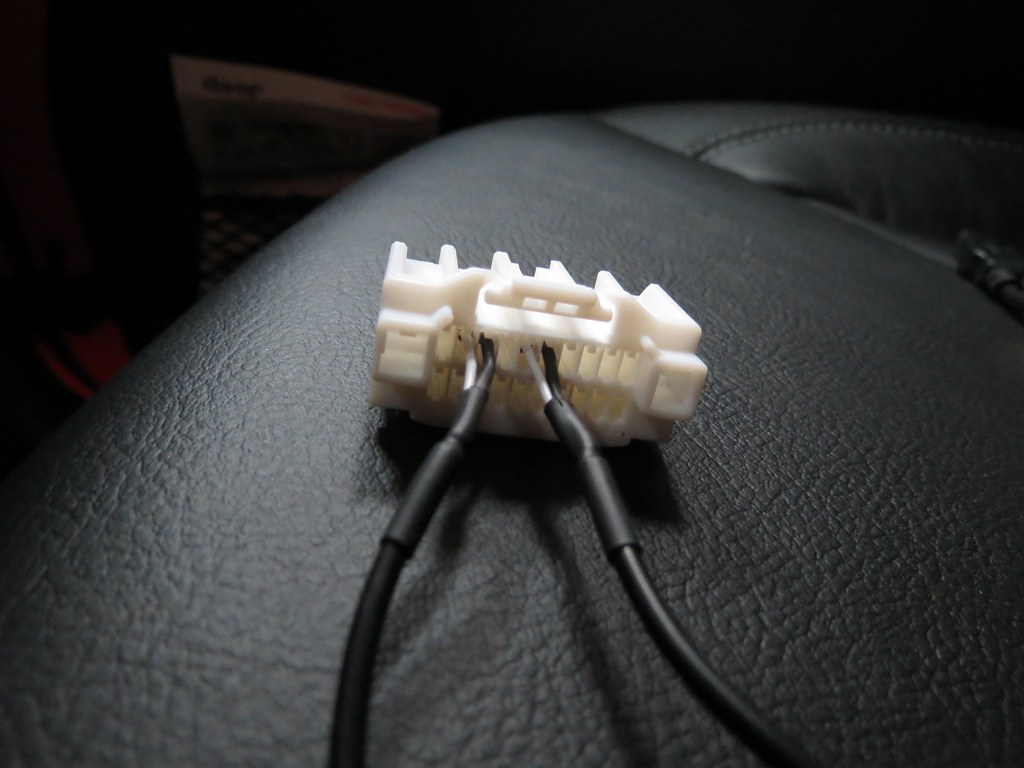
The NAV-TV connector attaches to the factory main harness:
![Image]()
Automatic
January 2013 build date.
- - - - - - - - -
I installed NAV-TV module with the Audiovox CMOS-2 backup camera. A straightforward installation, I spent about 5 hrs taking my time with a few breaks, and a rework of the hole on the backside of the rear bumper cover. A good learning experience on how the Jeep is put together.
Tools:
7mm socket for dash
30mm torx socket
plastic trim removal tool (helpful)
16mm socket for rear bumper
10mm socket for upper subwoofer nut
electrical tape
soldering gun & solder
wire stripper
5/16" hole saw or unibit
Notes:
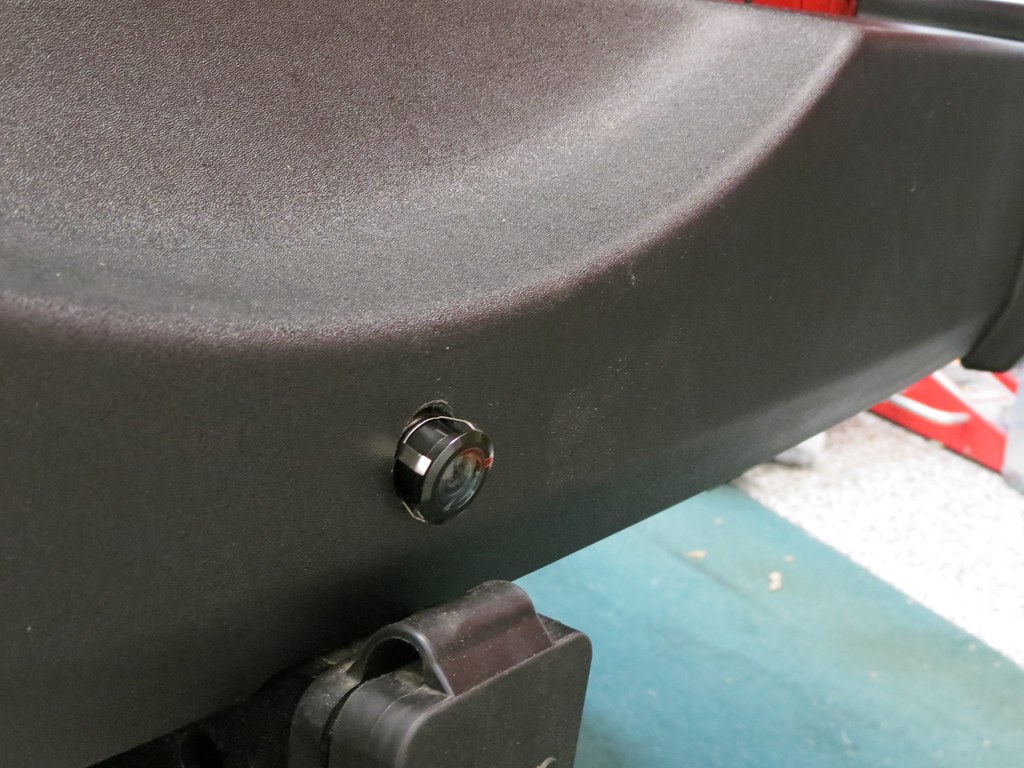
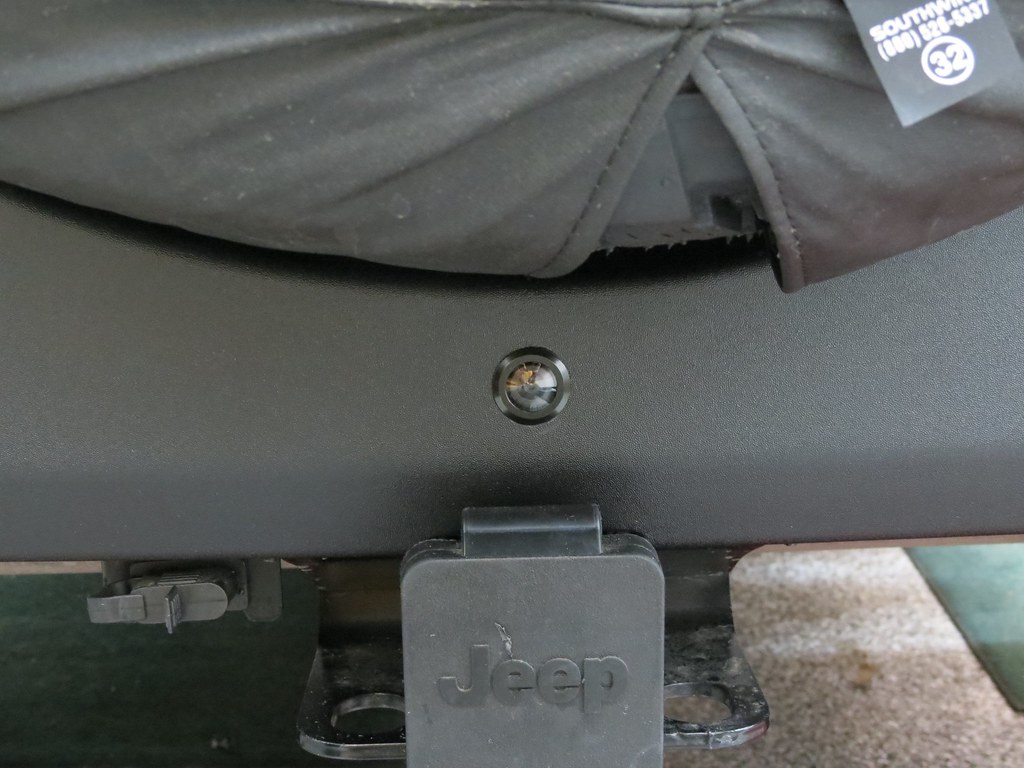
- The Audiovox camera does not have a quick disconnect near the camera, recommend adding for future bumper removal, otherwise it will require removing the wiring that is connected at a rear tail light.
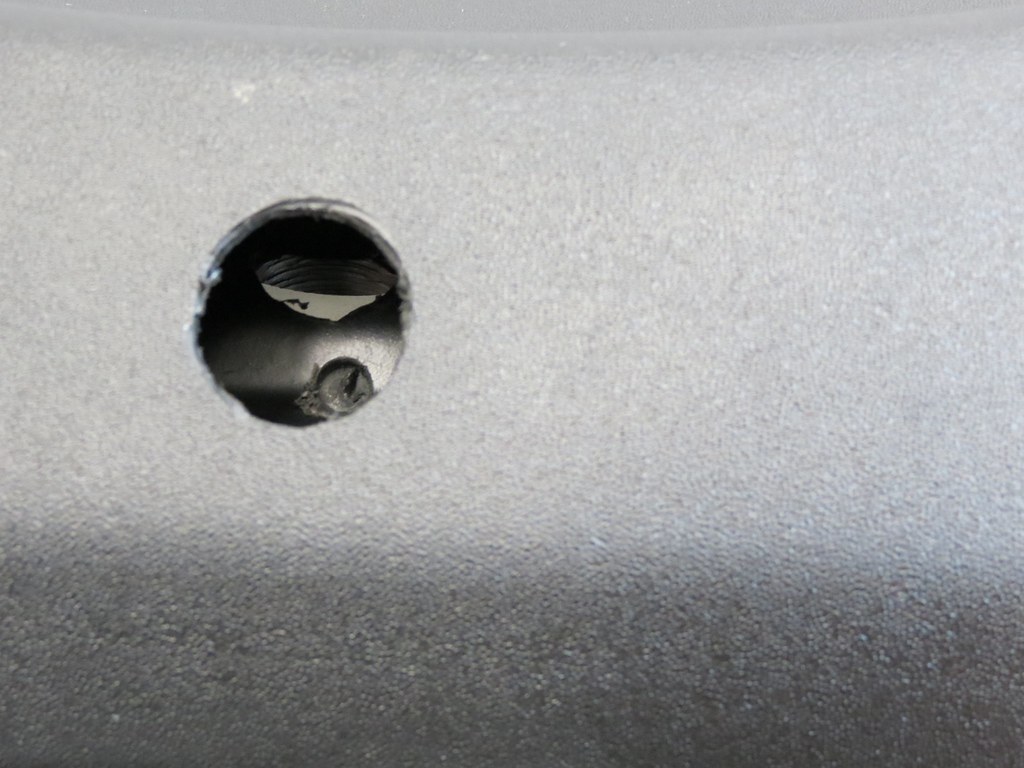
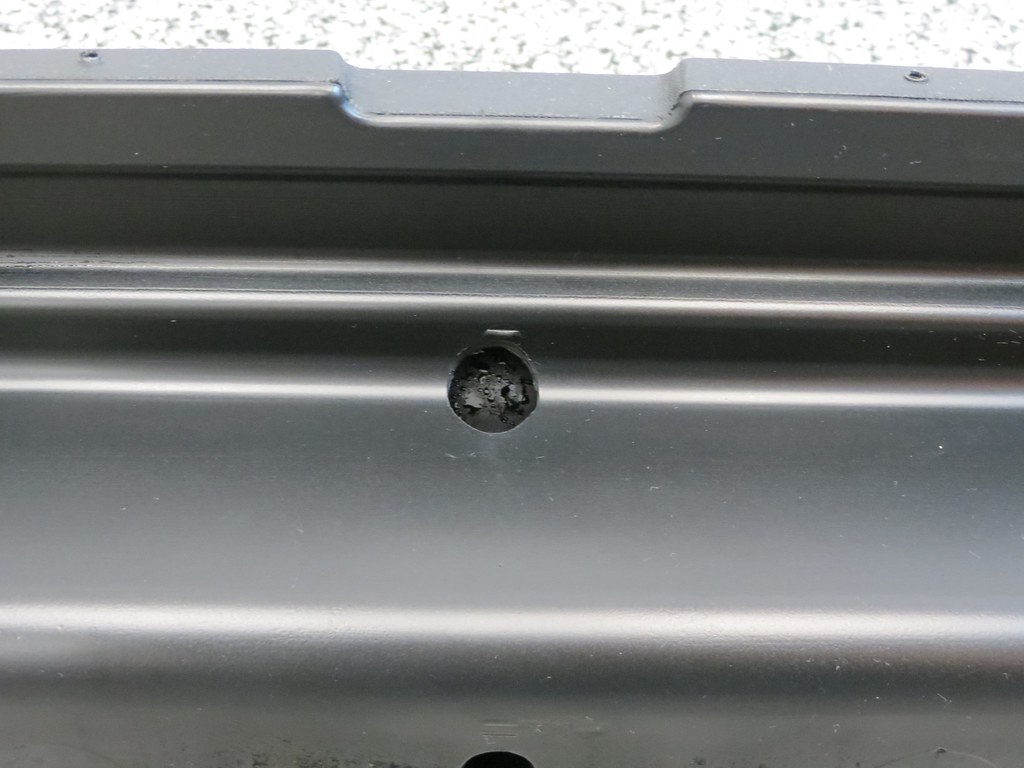
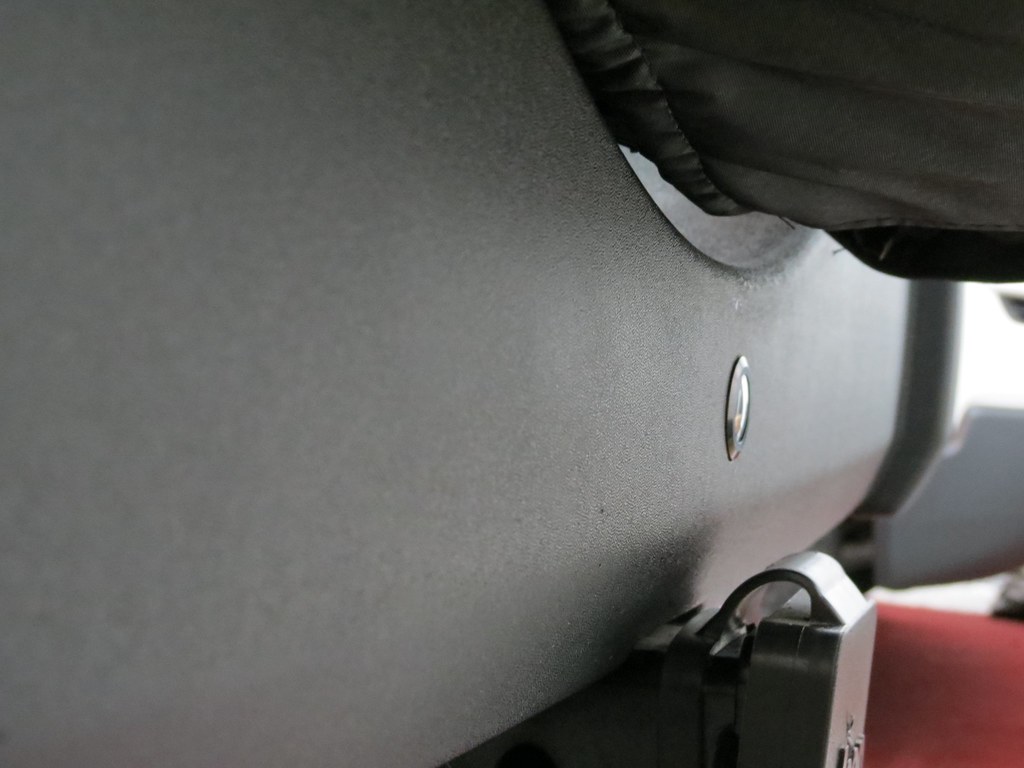
- Trim a generous amount from the inside of the plastic bumper cover to allow the camera to slide entirely inside the cover.
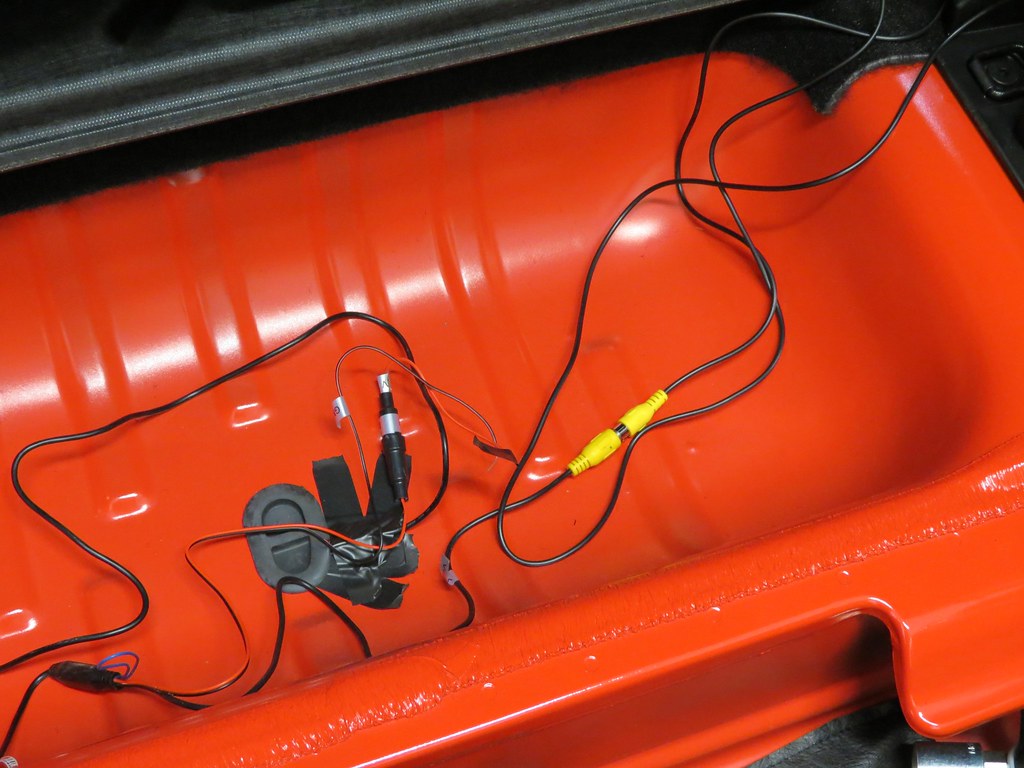
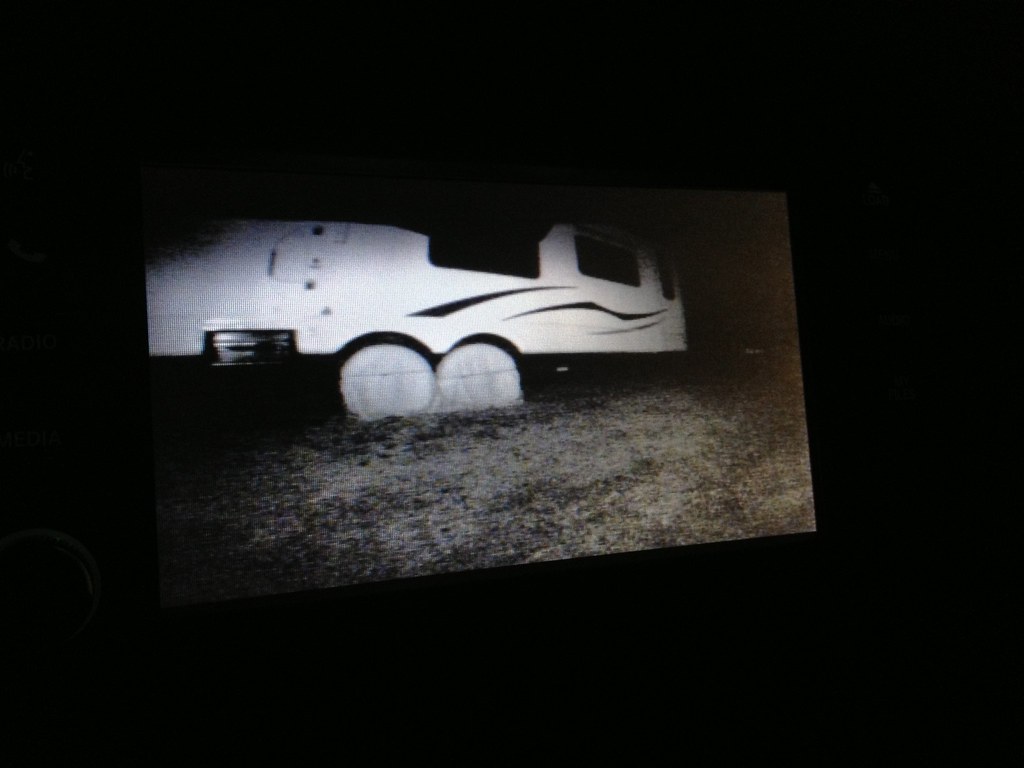
- Do not connect the camera directly to the NAV-TV camera video input - the signal comes up blank. The NAV-TV A/V cable is required and the connector inserts into the back of the head unit (430N in this install). This has me wondering if just the NAV-TV A/V cable combined ($69) with a Starscan update from Chrysler would activate any rearview camera ($20-$70). If so, this solution could be less than $100 depending on the camera + the cost from the dealer.
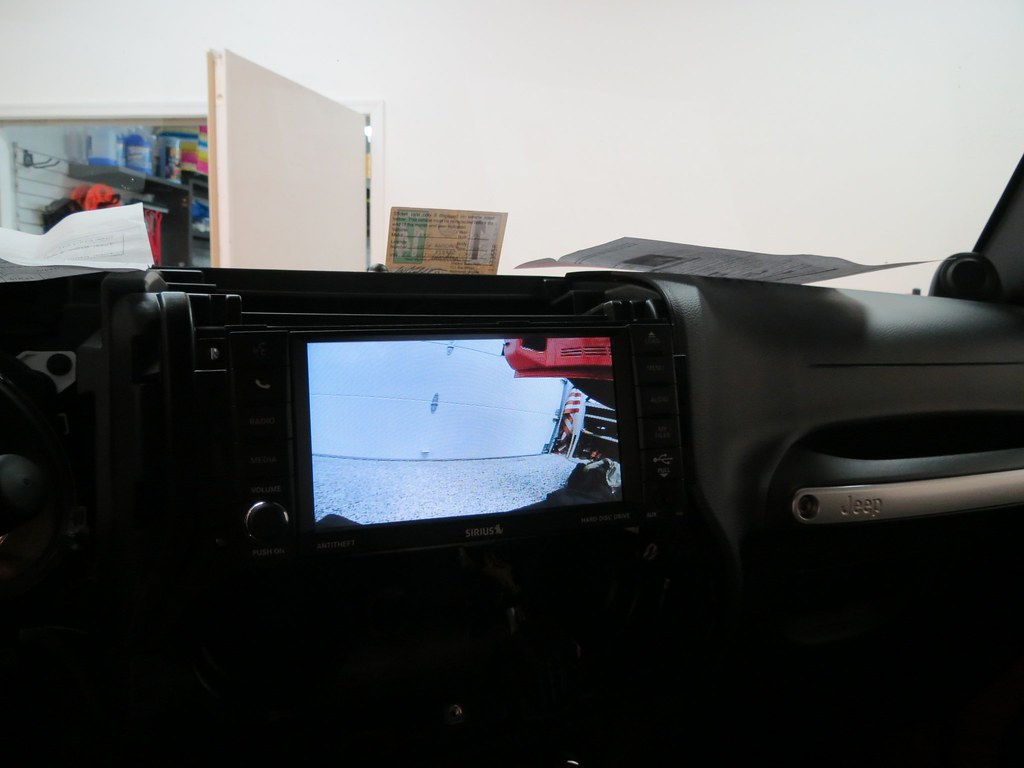
- Do not fully seat the camera so you can rotate the housing and get a level image on screen
Here are some pictures of the install:

Remove 7mm bolts:
Use plastic trim removal tool to pop the window switches; slide the red tab on the wiring connector and pull the plug:

pull lower tray and remove 2 bolts:


pull the top dash panel, lower the steering column, tilt up and toward the passenger side to clear the steering wheel:
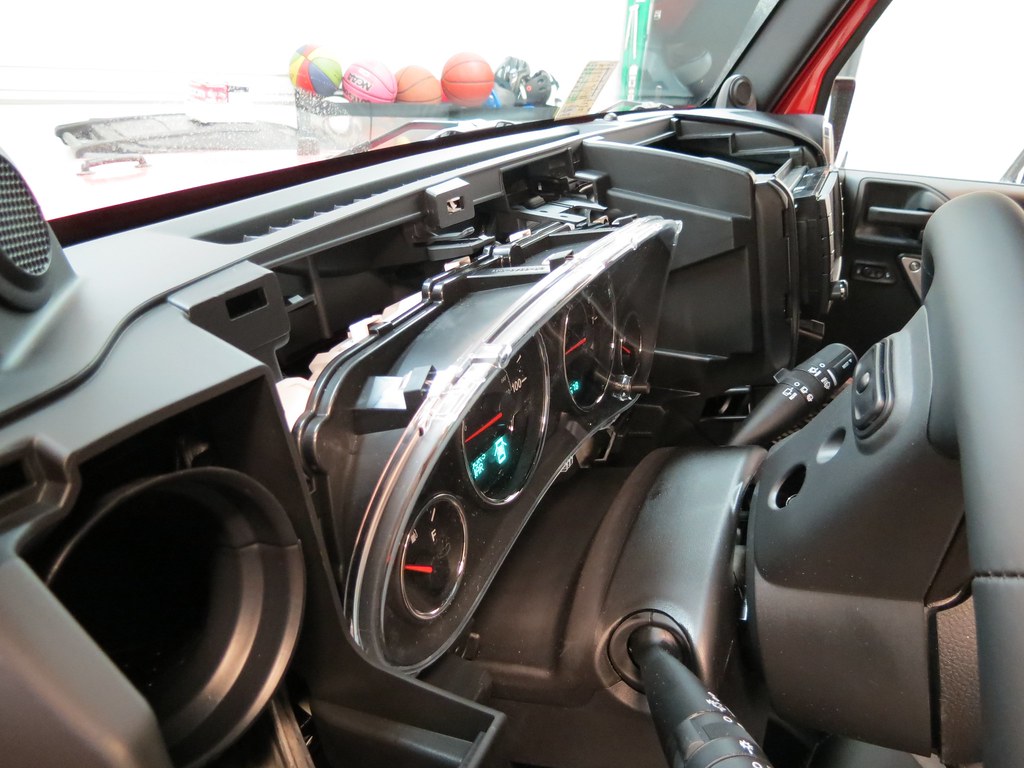
Remove the 4 bolts holding the headunit:

Squeeze and pull to release the harness and antenna connectors:
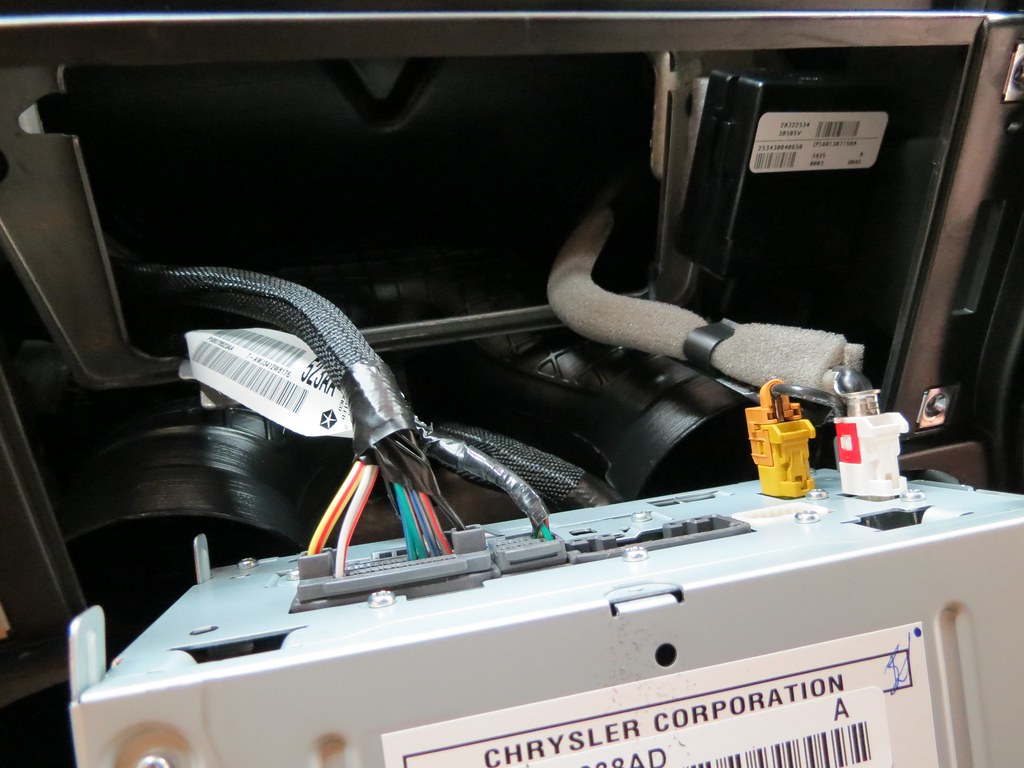
The NAV-TV connector attaches to the factory main harness: